DIY Mimosa Paper Flowers
Mimosa flowers are delicate, fluffy, and absolutely stunning in floral arrangements. I’ve always wanted to recreate them using cardstock, but their tiny size and the need for multiple blooms made it a bit challenging. After much trial and error, I finally came up with a template that makes the process easy and fun! Whether displayed in a vase or used as fillers in a bouquet, these mimosa paper flowers add a beautiful touch to any arrangement.
Supplies You’ll Need
Mimosa Template- https://www.handmadebysarakim.com/digital-templates/mimosa
Cardstock paper – White or yellow- https://bit.ly/2SlEwCx
Alcohol markers – Yellow shades- https://bit.ly/4jQ7lPW
Quilling tool- https://bit.ly/3afiBWz
White glue- https://bit.ly/38UgoQa
Gold wire (28 gauge)- https://bit.ly/3EpmeIO
Green floral tape
Green floral wire (24 gauge)- https://bit.ly/3pFy4ae

Step 1: Cutting the Fringe Patterns
I used my Cricut to cut two different fringe patterns—one small and one larger—on white cardstock. You can use yellow cardstock, but I prefer starting with white and coloring them with yellow alcohol markers. This technique allows for different shades of yellow and adds depth to the flowers. Some I left with white tips, blending the yellow upwards for a natural look.
For this project, I planned to make 25 yellow flowers, starting with:
2 small fringe pieces
8 large fringe pieces
Since alcohol markers bleed through, I liked the slightly lighter shade on the other side. If needed, you can recolor the back.

Step 2: Quilling the Fringe Flowers
Using a quilling tool, I curled each fringe strip by catching the end and rolling it tightly. I applied white glue to the end to secure it. You can add glue in between to prevent unraveling, but I found securing just the end worked well.
The larger fringe pieces are easier to work with, and I placed them lower on the stem, with smaller ones toward the top.
Step 3: Adding Gold Wire Stems
I used 28-gauge gold wire, curling the tip a few times to form a small loop. Then, I carefully opened up the fringe layers so the outer edges folded back, creating a fuzzy ball effect.
Next, I inserted the gold wire loop into the center of the flower. The thin wire easily slips through, and since it’s gold, it blends beautifully with the yellow.
Step 4: Wrapping with Floral Tape
I wrapped green floral tape around the base of each flower, pulling it slightly to activate the adhesive. I continued wrapping down the wire about an inch or two. If needed, I pulled the tape back up to secure the flower in place.

Step 5: Creating the Leaves
Each stem needed about 5 leaves:
Cut the leaf shapes
Curl the edges slightly for a natural shape
Attach them to 24-gauge floral wire by sandwiching the wire between two leaves with white glue
Floral tape the leaves onto the main stem, staggering them downward
Step 6: Final Assembly
Starting with the smallest flower at the top, I taped additional flowers below, spacing them about half an inch apart. Once I had about 10 flowers, I added the leaves, finishing the stem.
I repeated this process to create three full stems, with some having fewer flowers.
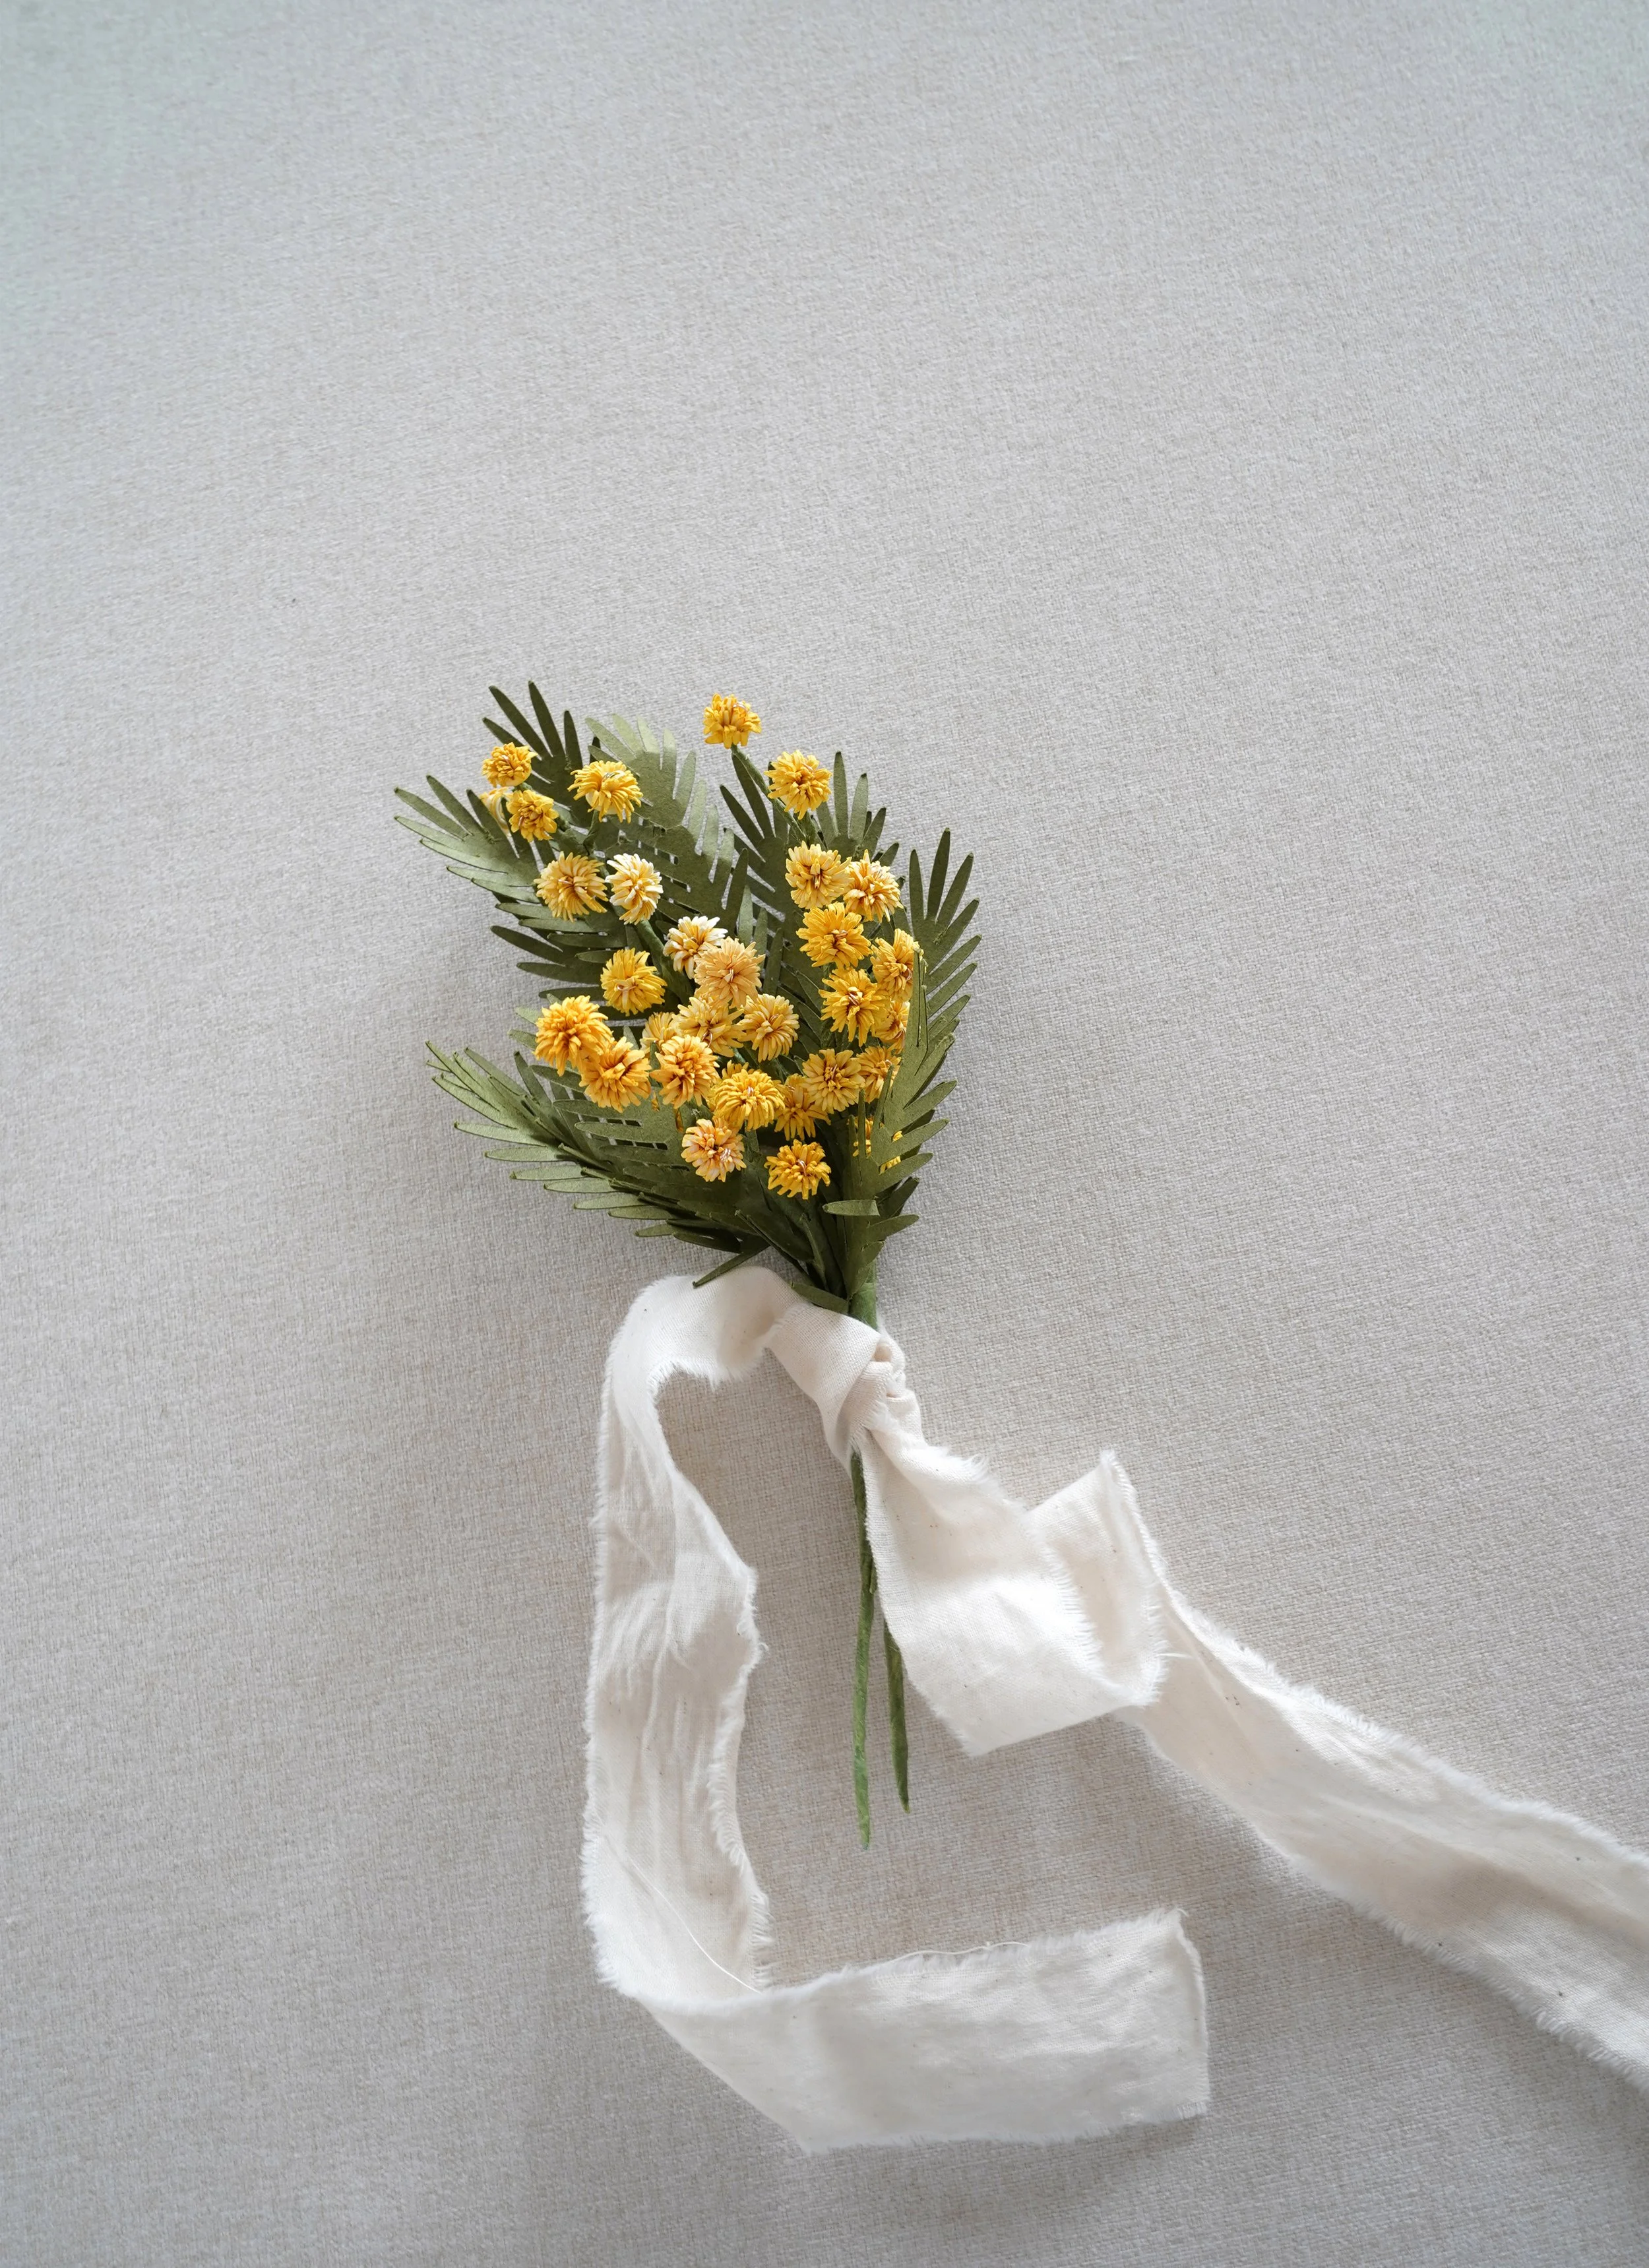
The Perfect Spring Arrangement
Watch the full video tutorial above. These three mimosa stems turned out to be the perfect little paper boutonnieres! They also looked amazing in a vase I recently found here and worked beautifully as filler flowers in a paper flower bouquet.
-Sara Kim