How to Make a Stunning Paper Caladium Plant for Your DIY Valentine’s Décor
Have you ever been inspired by the delicate beauty of a caladium leaf? With its heart-shaped design and intricate vein patterns, it’s the perfect symbol of love and creativity. Today, I’m showing you how to make a lifelike paper caladium plant, ideal for Valentine’s Day or as a year-round décor piece.
This tutorial is beginner-friendly and customizable—find the template, tips, and everything you need to create your own masterpiece.
Supplies You’ll Need:
Caladium Template for Handcutting, Cricut, Silhouette- https://www.handmadebysarakim.com/digital-templates/caladium
Blush cardstock paper
Pink/Blush Cardstock Paper (use discount code “SARAKIM10”)- https://www.12x12cardstock.shop/?p=BkRvWGQ5n
Green Floral Wire- https://bit.ly/3pFy4ae
Wire Cutter + Poking Tool- https://bit.ly/3uv7QEI
Green Floral Tape- https://bit.ly/2VtGXVP
White glue- https://bit.ly/3PAi42t
Matte Mod Podge- https://bit.ly/4188QkV
Thicker floral wire- https://bit.ly/3S9Wsg5
Printer- https://bit.ly/3z1EFhI
Cricut Maker- https://bit.ly/3M24JhI
Silhouette Cameo- https://bit.ly/42M6Ooz
Sponge or brush- https://bit.ly/4hMY1KG
Styrofoam, rocks, and planter
Step 1: Print and Cut the Caladium Leaves
Download the template and print them onto blush cardstock paper or any color you like. You can either cut the shapes by hand or use a cutting machine like Cricut or Silhouette. The template includes three different versions of the caladium leaf, so feel free to mix and match sizes for variety.
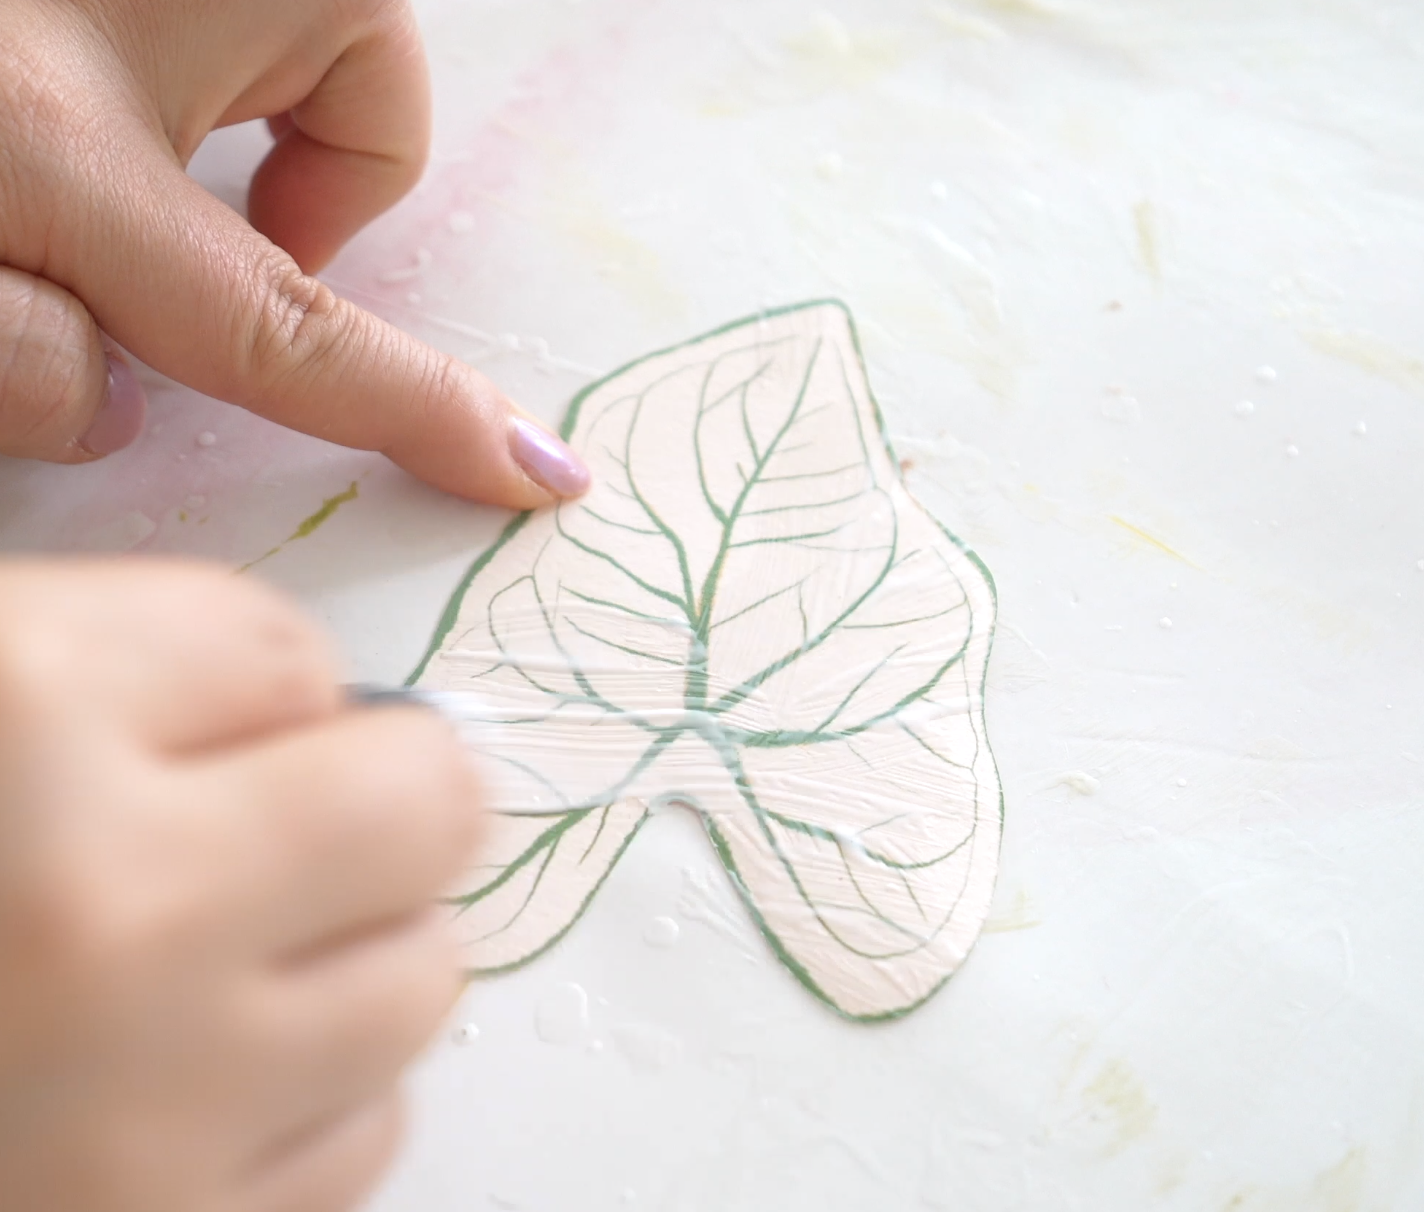
Step 2: Add Texture with Matte Mod Podge
Using a sponge or brush, apply strokes of matte Mod Podge along the printed veins. The direction of your strokes will create a realistic texture, so take your time. Let the leaves dry completely (about 30 minutes).
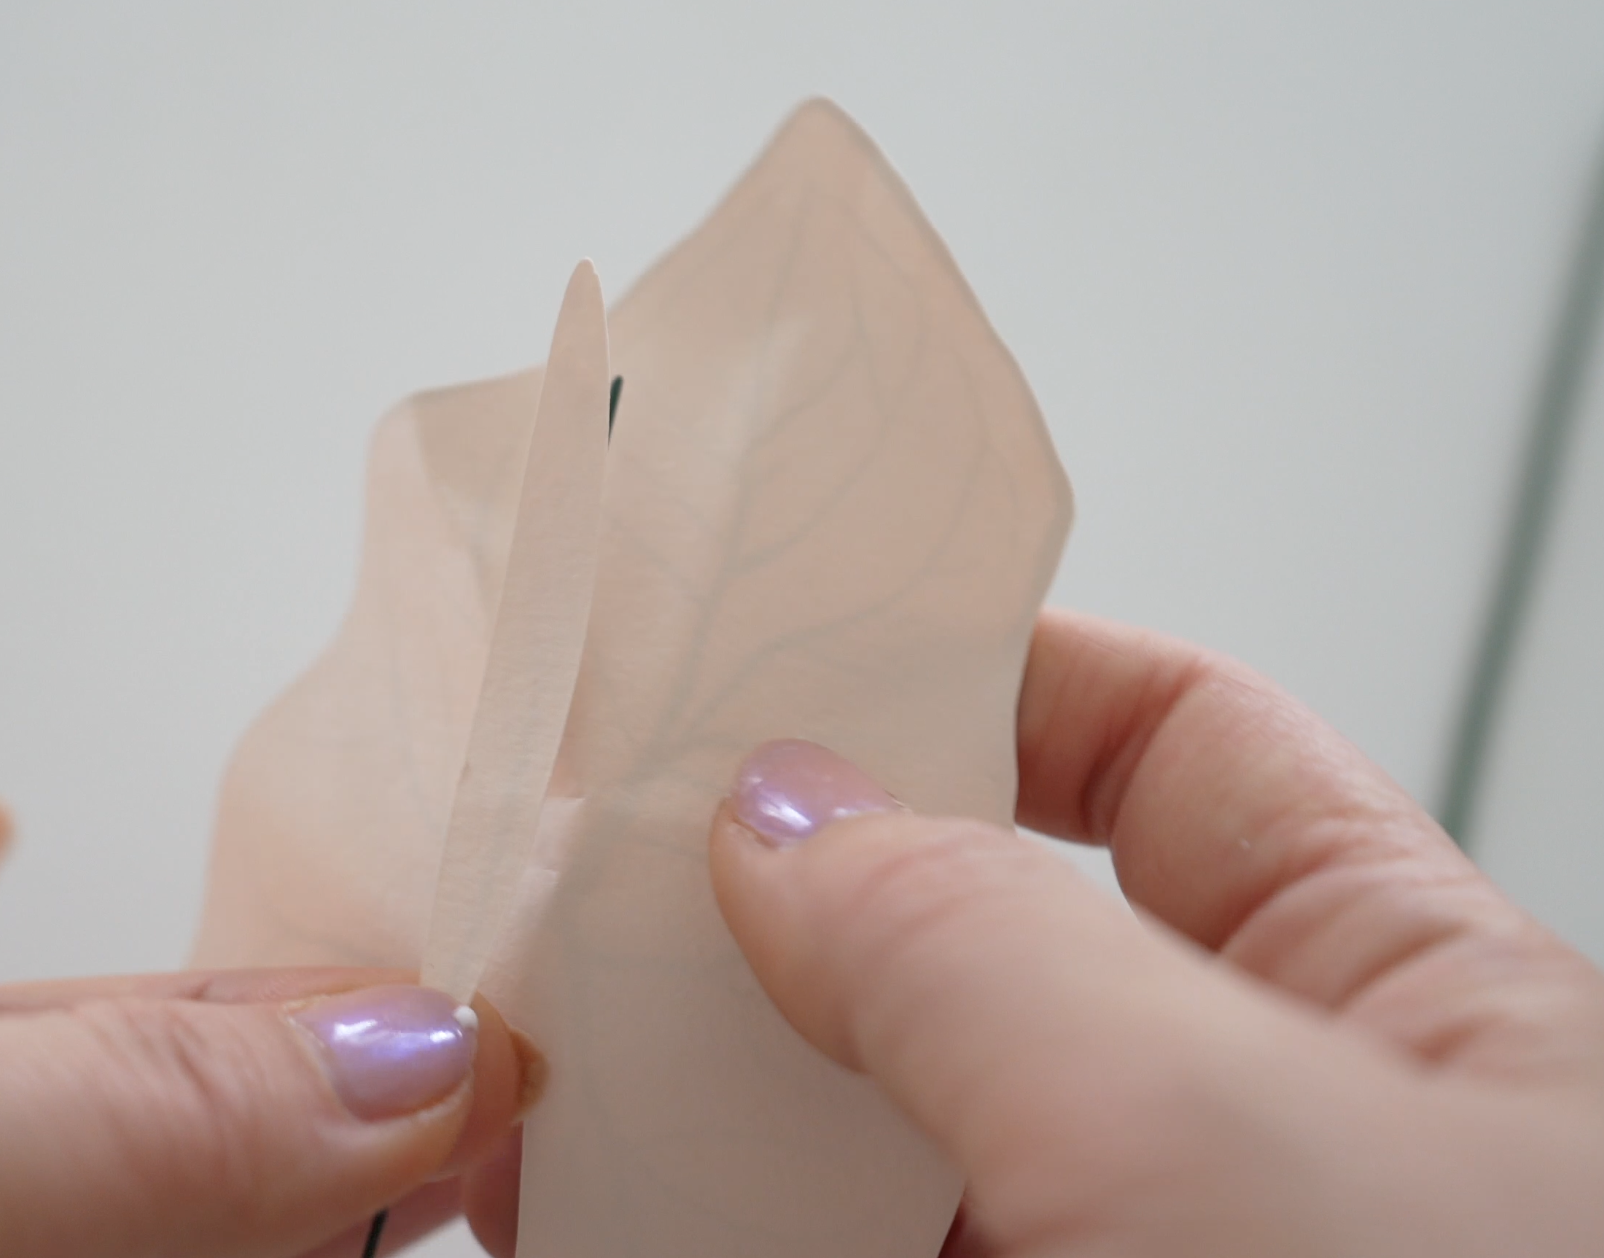
Step 3: Shape the Leaves
Once dry, fold the leaves gently in the middle, then create a ruffled effect by curving some sections inward and others outward. Curl the edges slightly for a natural, lifelike appearance.
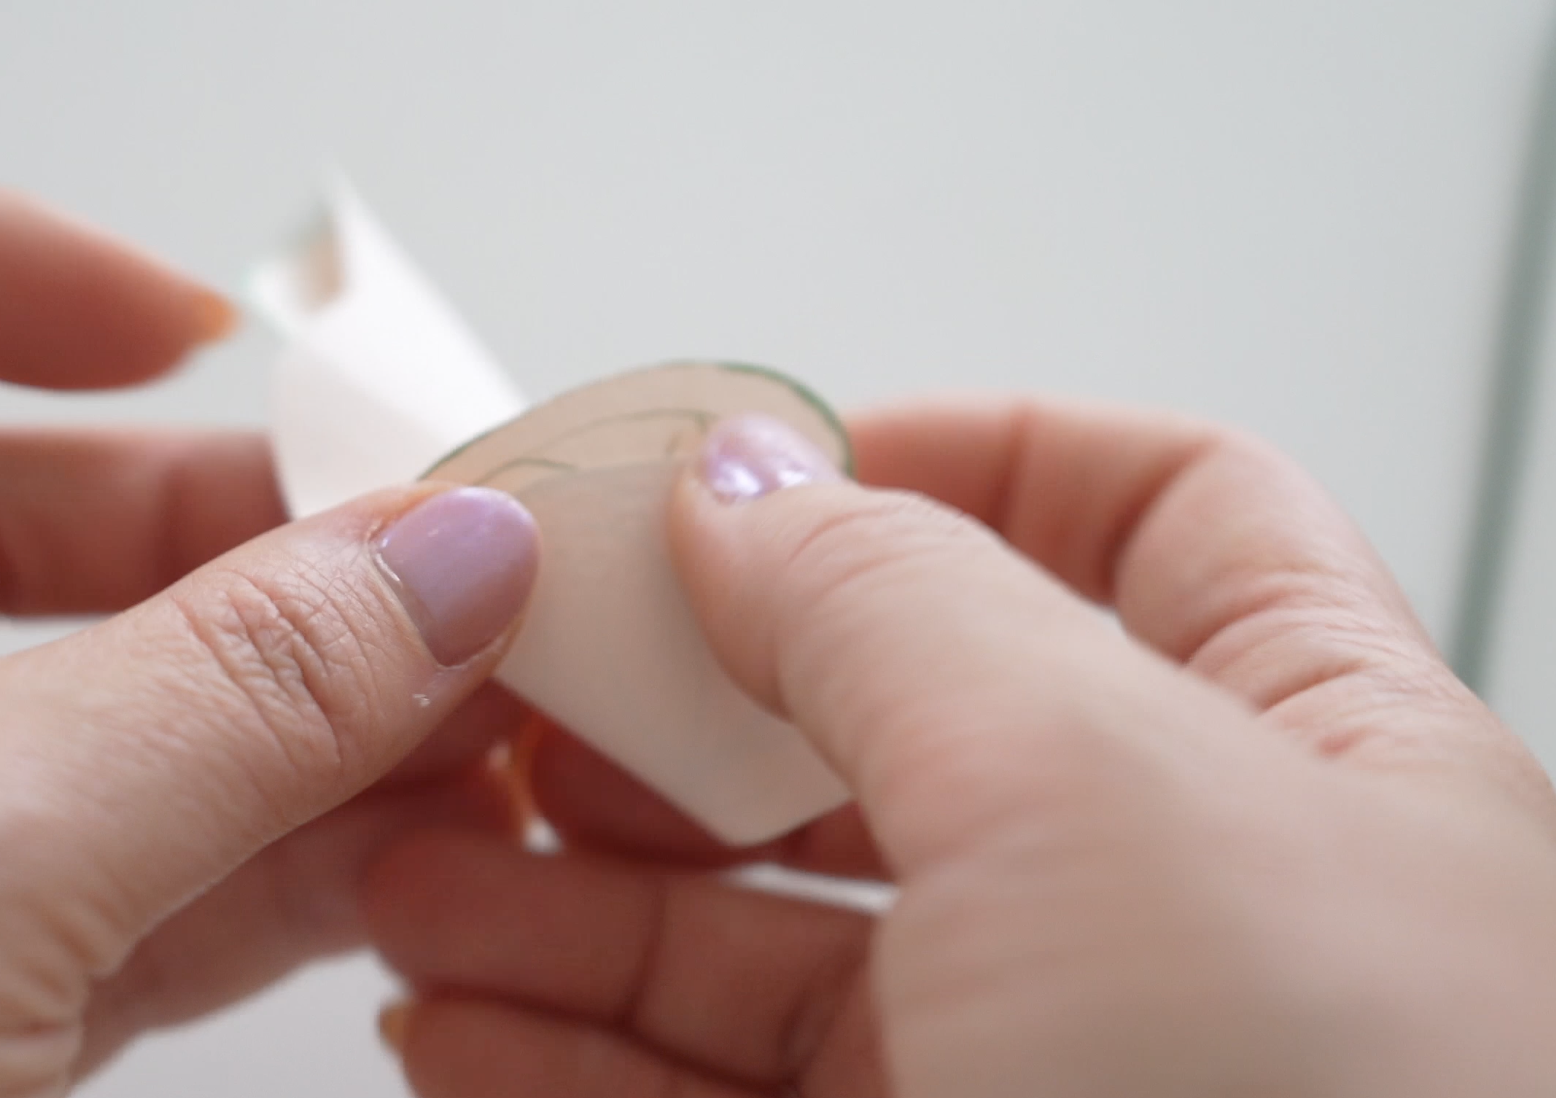
Step 4: Attach Floral Wire
Glue a piece of thin floral wire to the back of each leaf using white glue. Hold it down until the glue sets, then attach that to a thicker floral wire stem using floral tape. Adjust the position so the thin wire aligns closely with the thicker stem for a polished look.
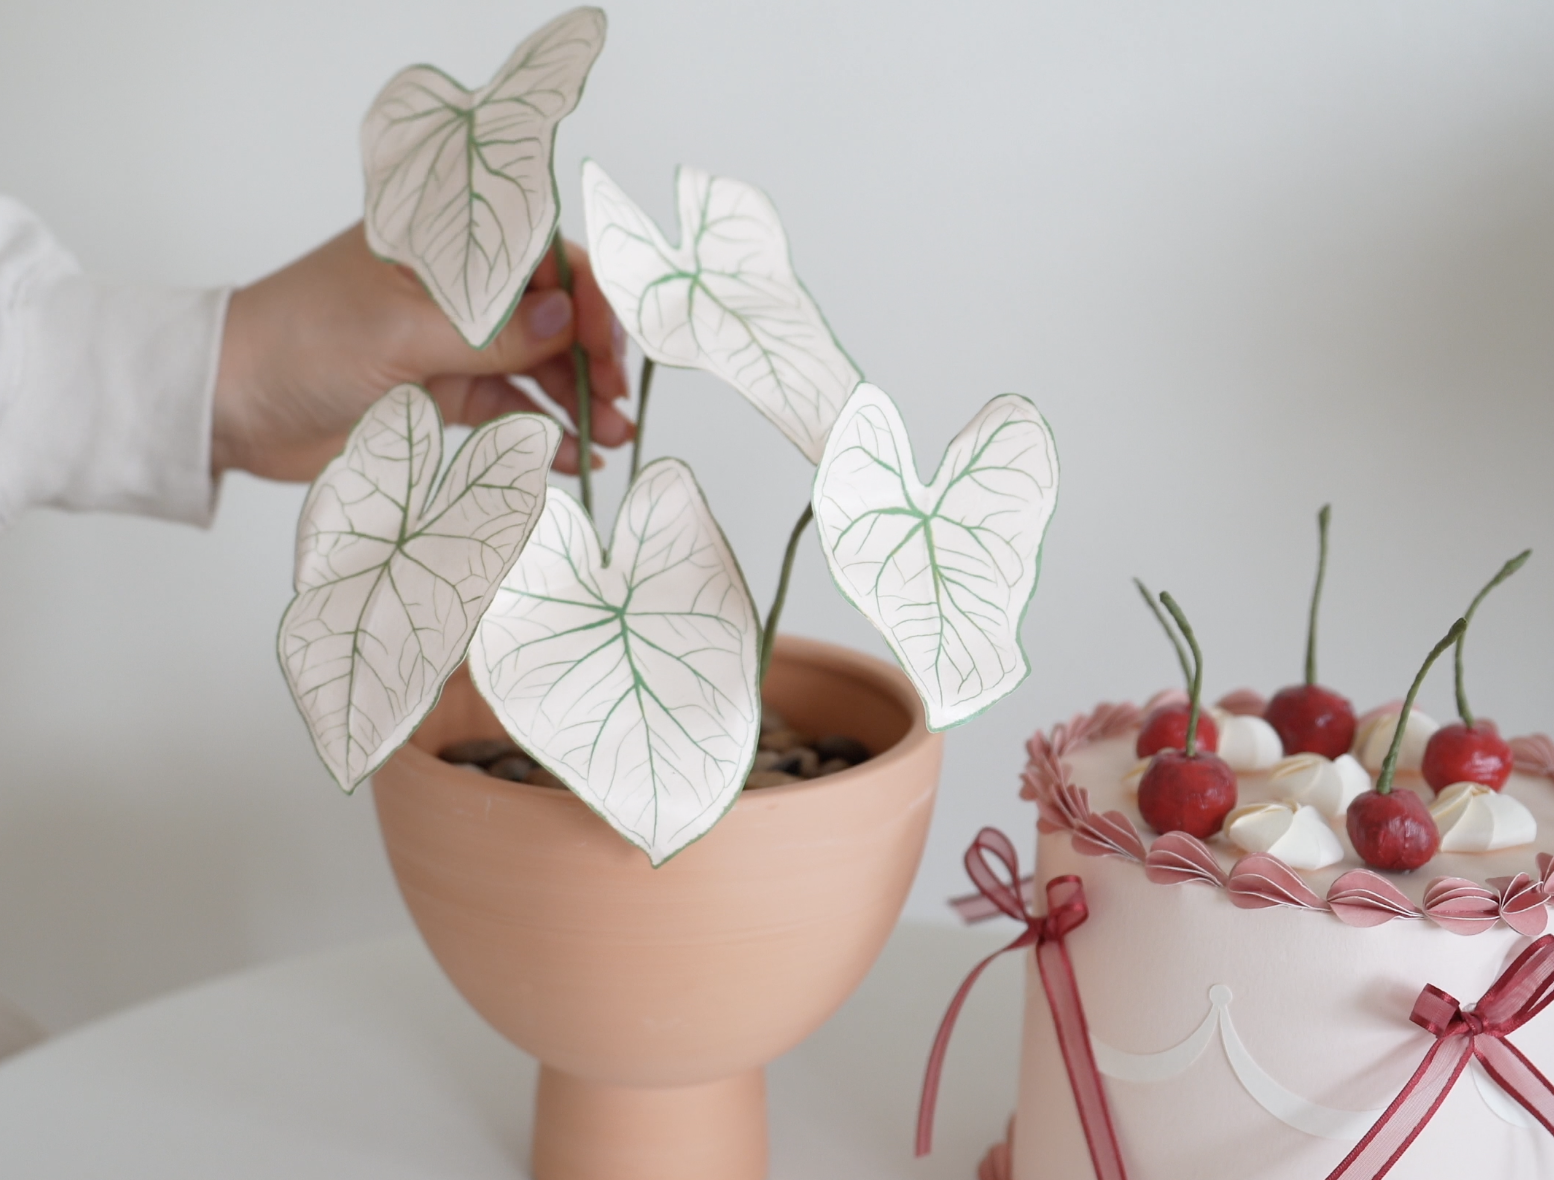

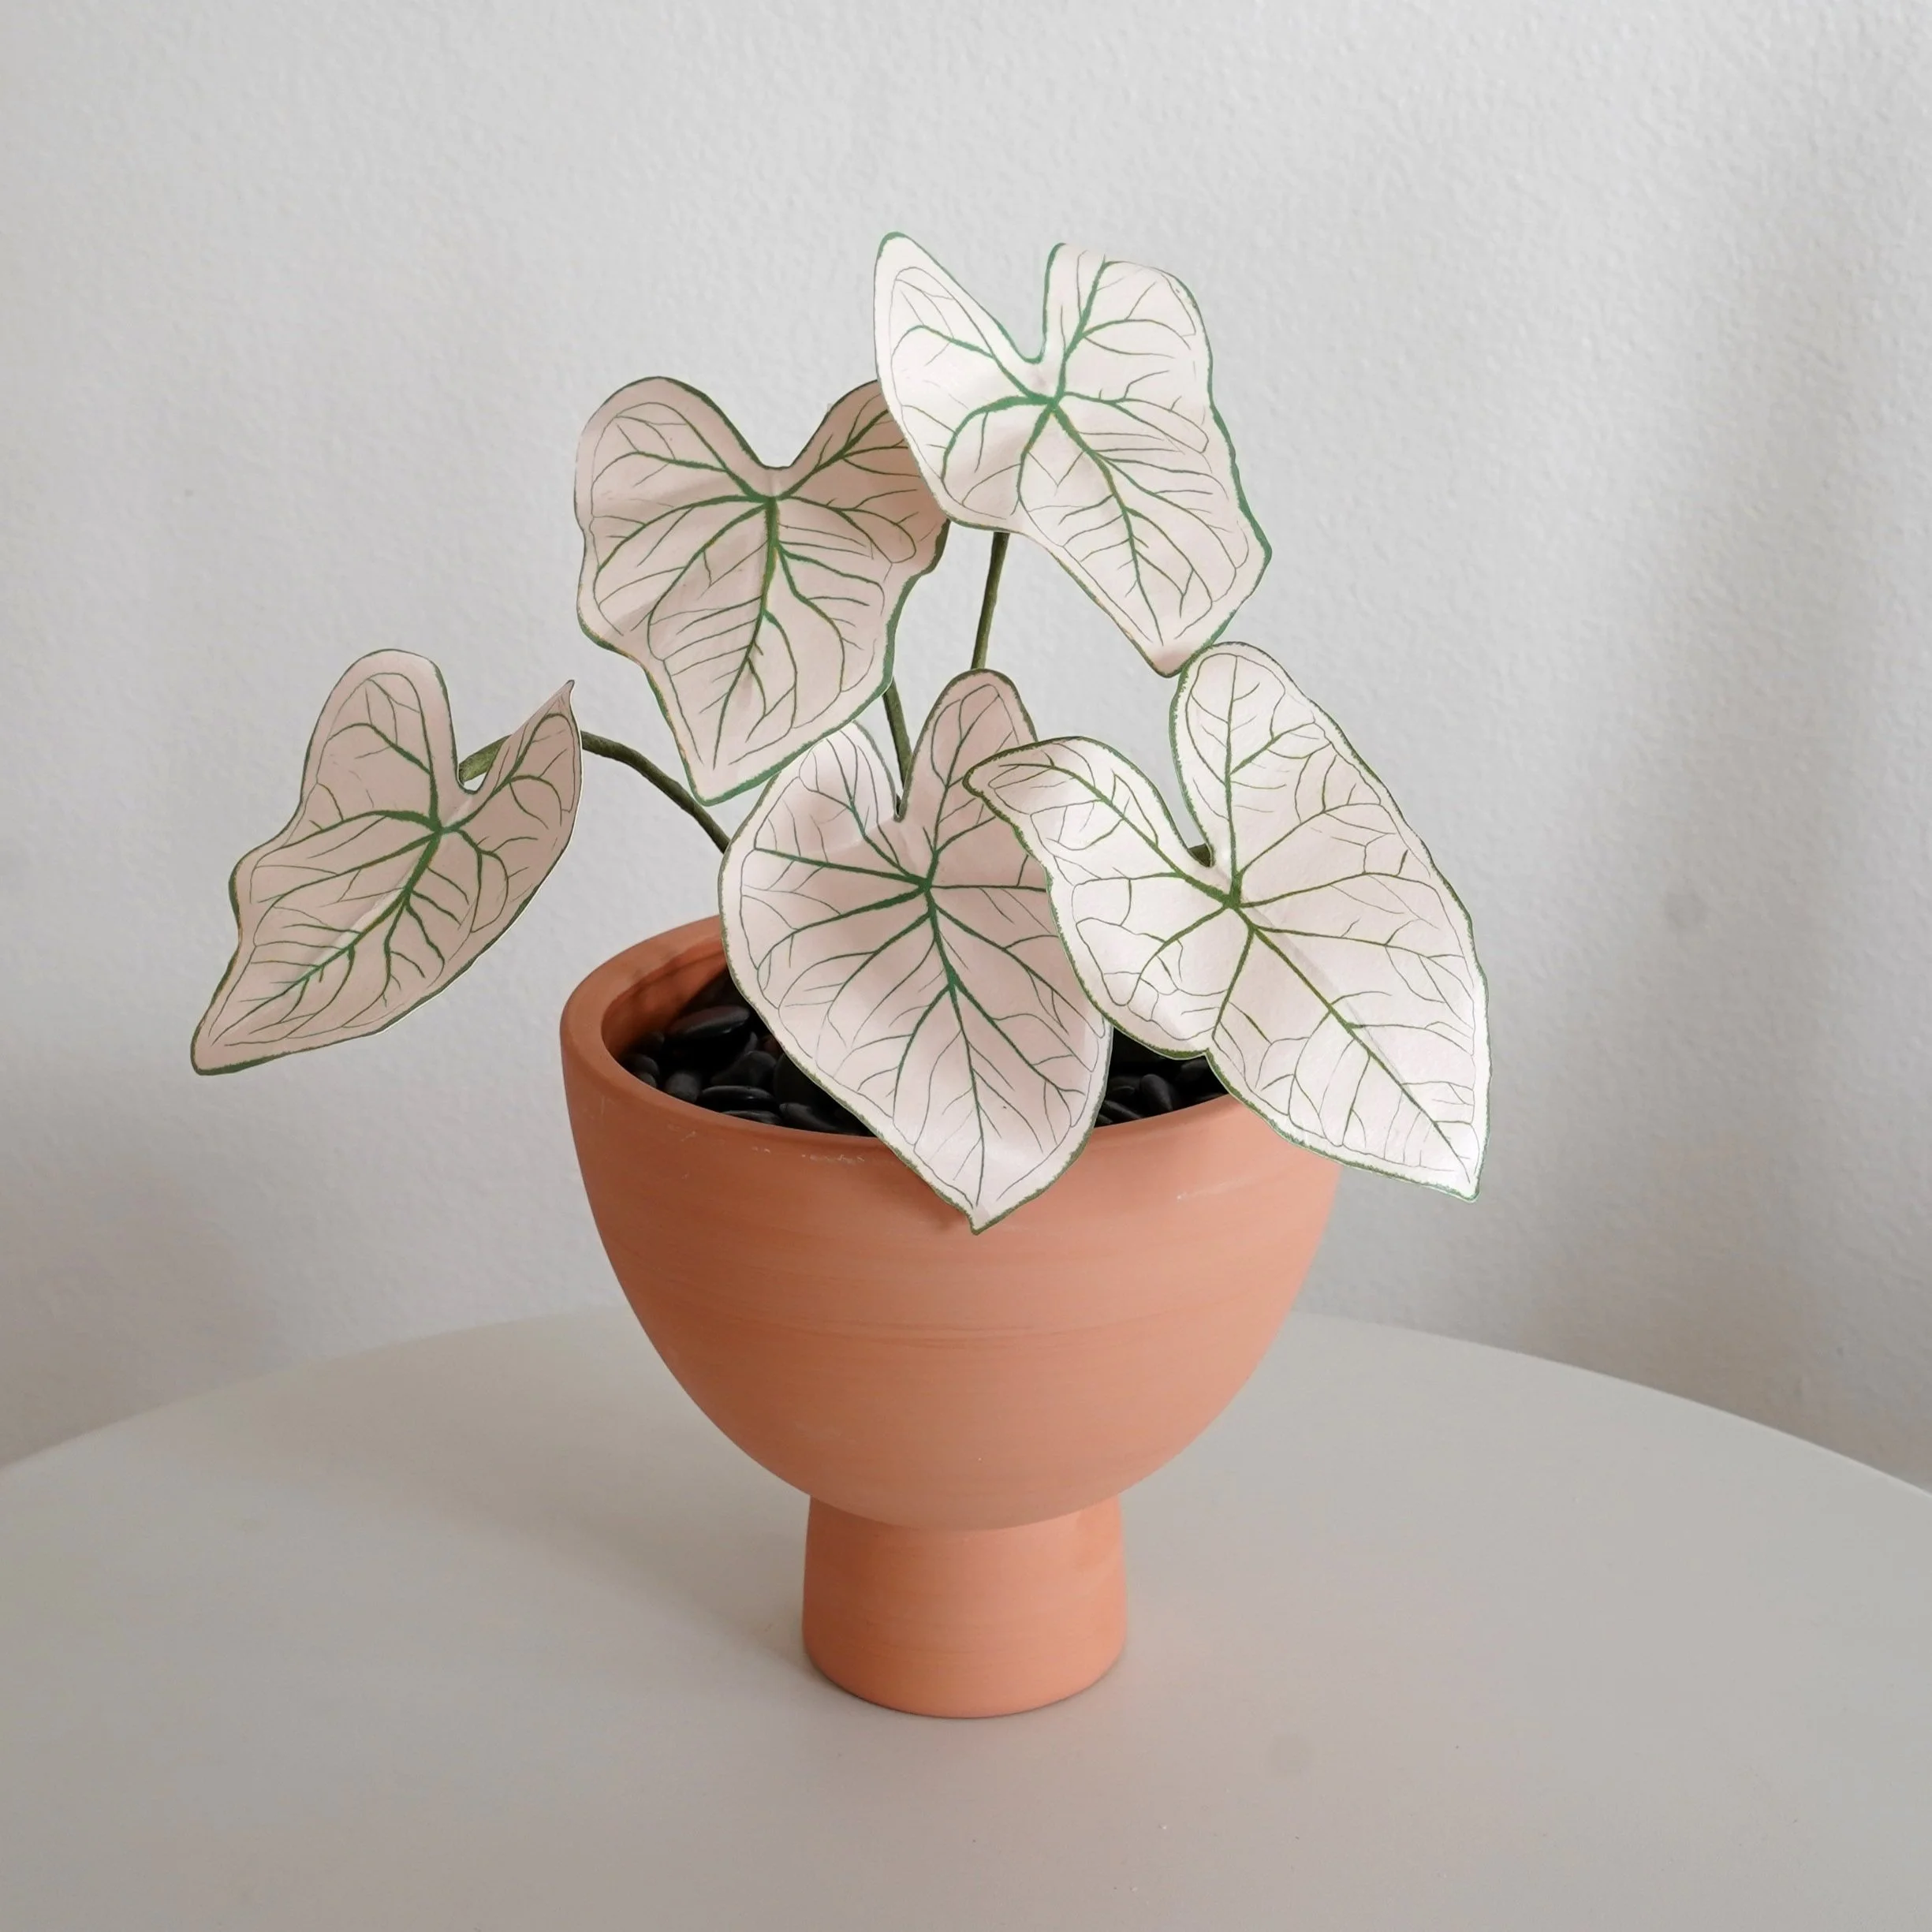
Step 5: Assemble Your Plant
Create multiple leaves (I made five) and arrange them in a planter filled with Styrofoam and decorative rocks. Vary the heights for a more natural, dynamic appearance. Alternatively, display a single leaf in a small vase for minimalist charm—perfect for bookshelves or smaller spaces.
Bonus: Pair with Other Paper Plants
This paper caladium looks amazing on its own or combined with other paper plants. Check out my additional tutorials for more inspiration.
Other paper plant templates- https://www.handmadebysarakim.com/digital-templates?category=Plants
Other paper plant tutorials- https://youtube.com/playlist?list=PLGfLZEXMRJWMbOagCYg_bdLpnWA4o7bbL&si=785oCtmYby1P3OcD
-Sara Kim