DIY Paper Anthurium Crystal Tutorial
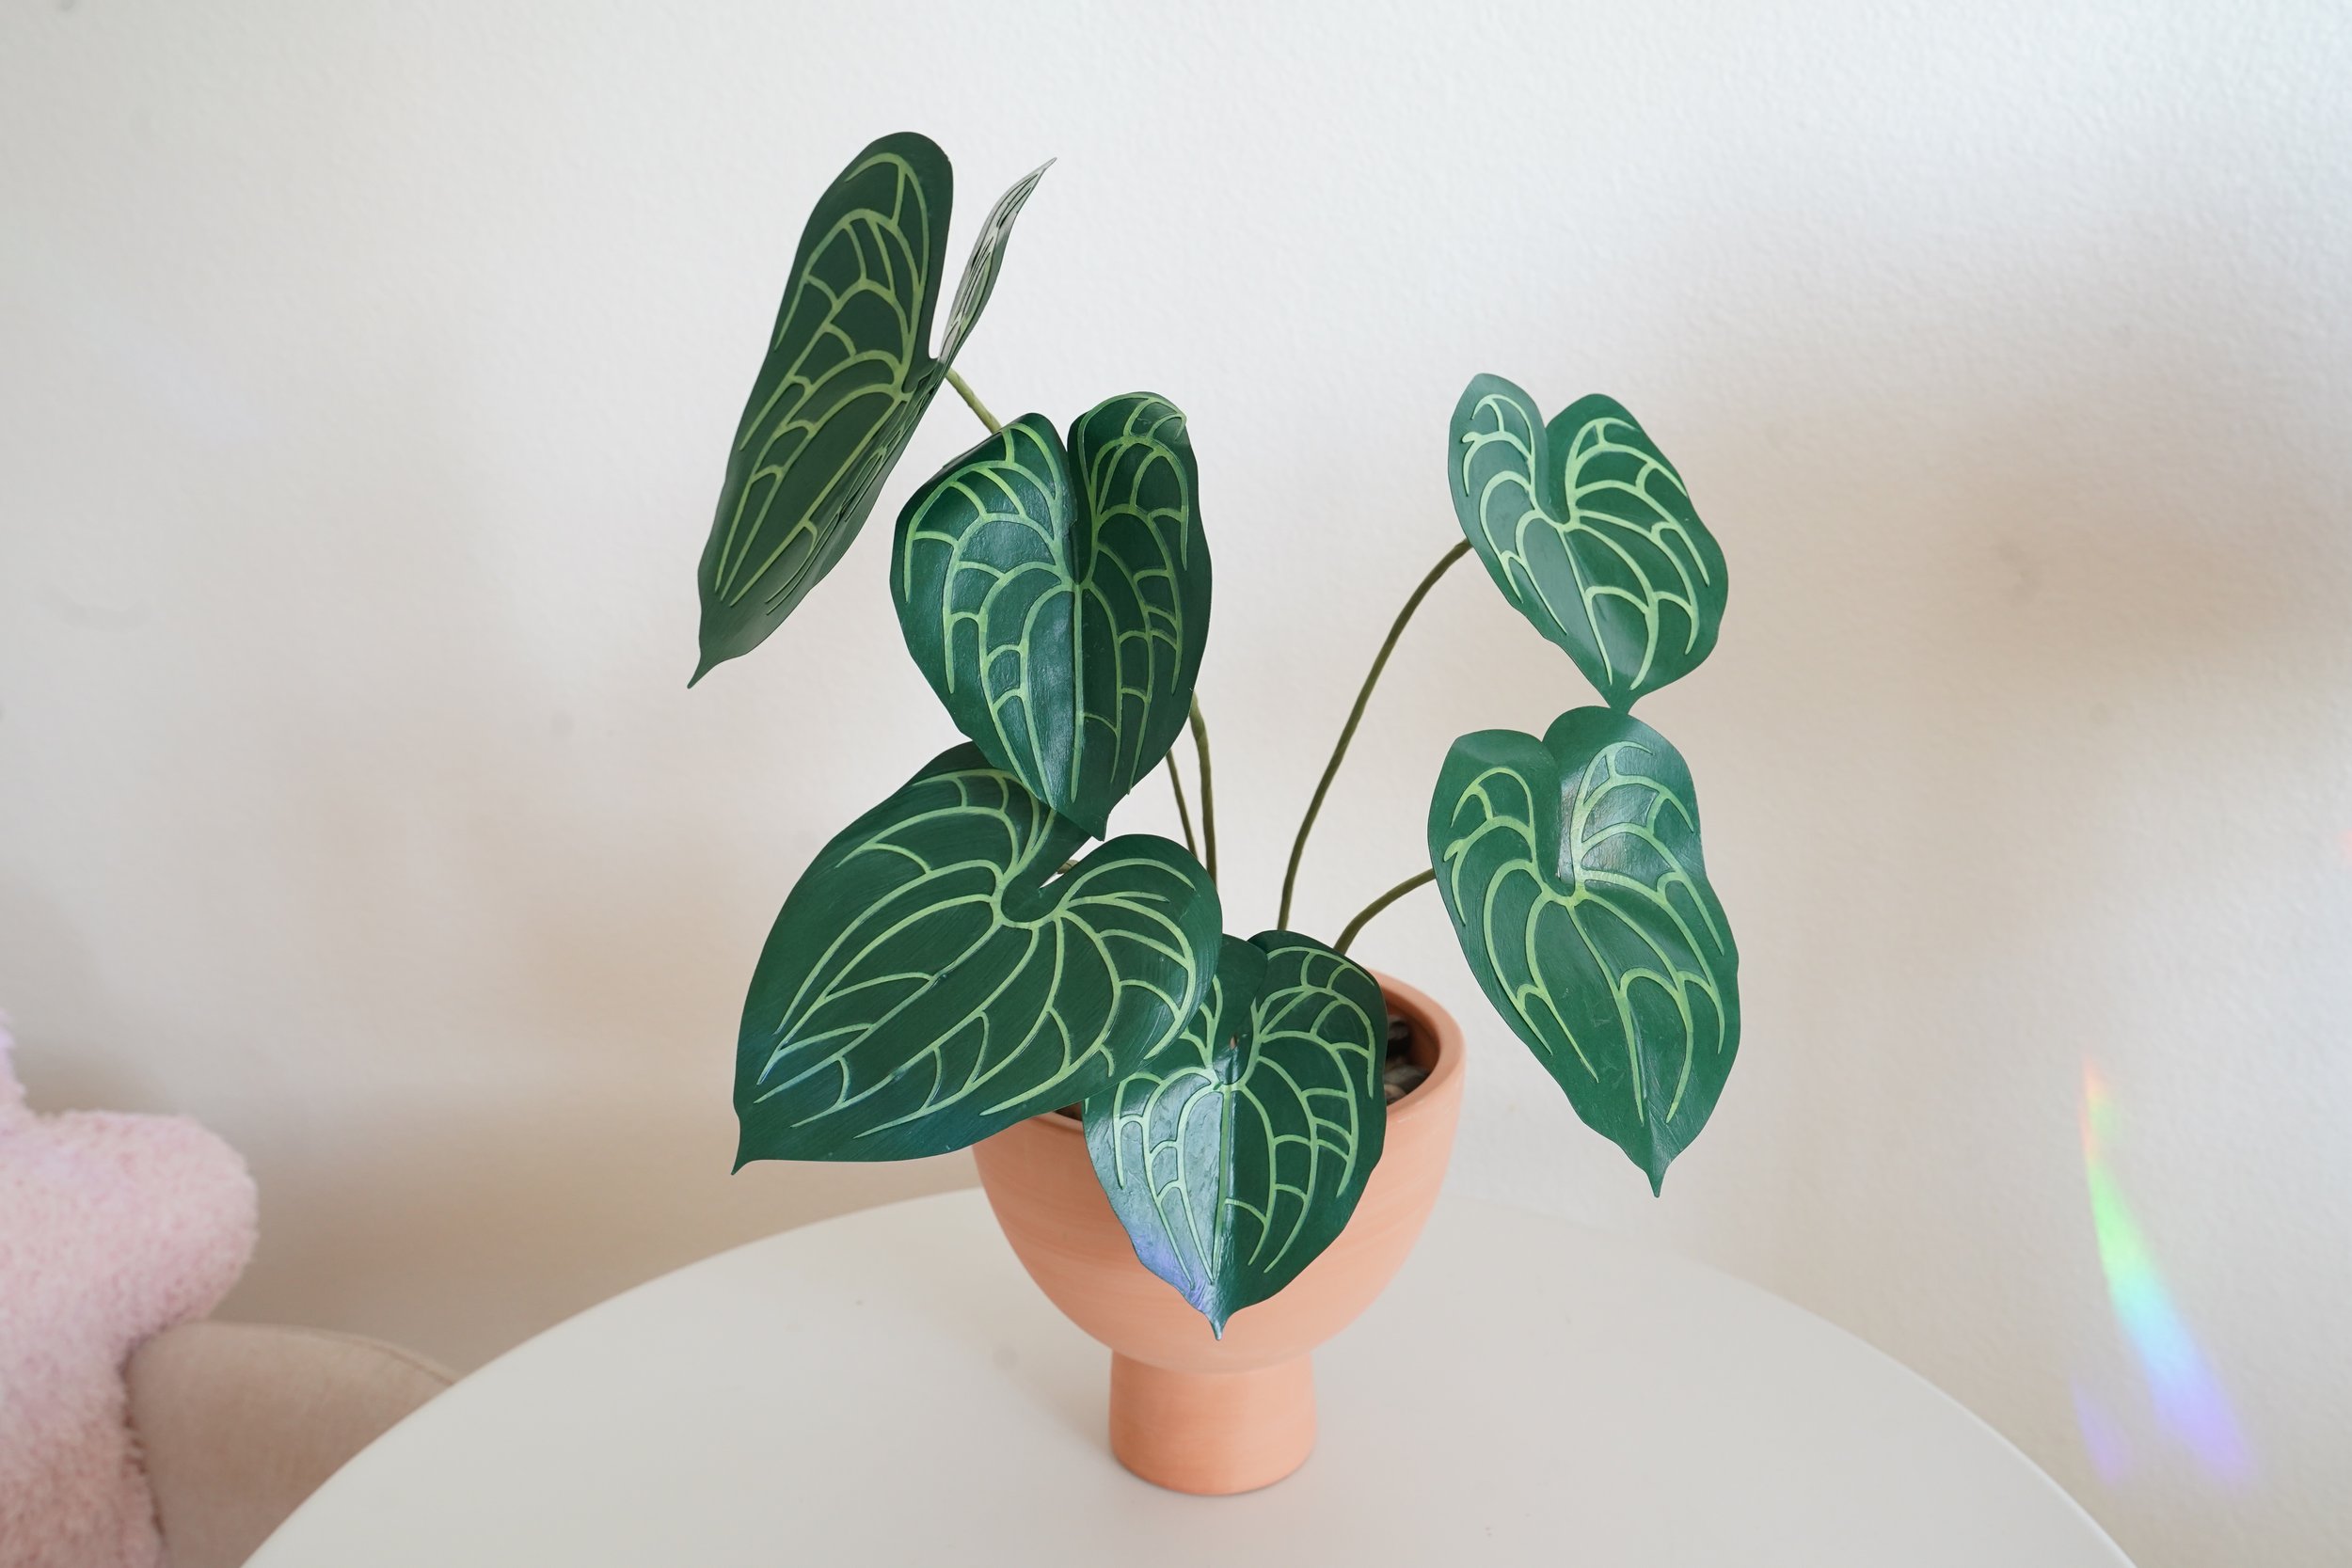
Hello, everyone! Today, I’m excited to share a fun and creative project: how to make a paper Anthurium Crystal plant. This craft is perfect for adding a touch of greenery to your home—without the need for watering!
Make sure to like this post and subscribe to my Youtube channel for more tutorials. This is compatible with Cricut, Silhouette, or other cutting machines. Let’s Get Started!
Anthurium Template- https://www.handmadebysarakim.com/digital-templates/anthurium
Materials Needed:
Thin floral wire
Floral tape
Scissors or cutting machine
Scraps for small leaf shapes
Steps to Create Your Paper Anthurium Crystal Plant
1. Prepare the Template:
Begin by cutting all your pieces from dark green cardstock using this template- https://www.handmadebysarakim.com/digital-templates/anthurium. The template was originally designed for Anthurium flowers, but we’re giving it a green twist to create the Anthurium Crystal plant version. Feel free to experiment with different sizes and patterns to make your leaves unique!
2. Add LIGHT GREEN:
Use a light green acrylic marker to color the pattern on your cutouts. This will give the leaves a realistic, textured look.
3. Assemble the Leaves:
Take your thin floral wire and attach it to the back of each leaf. Cut a small, thin leaf shape from your scraps, and use white glue to cover the wire. Let it dry.
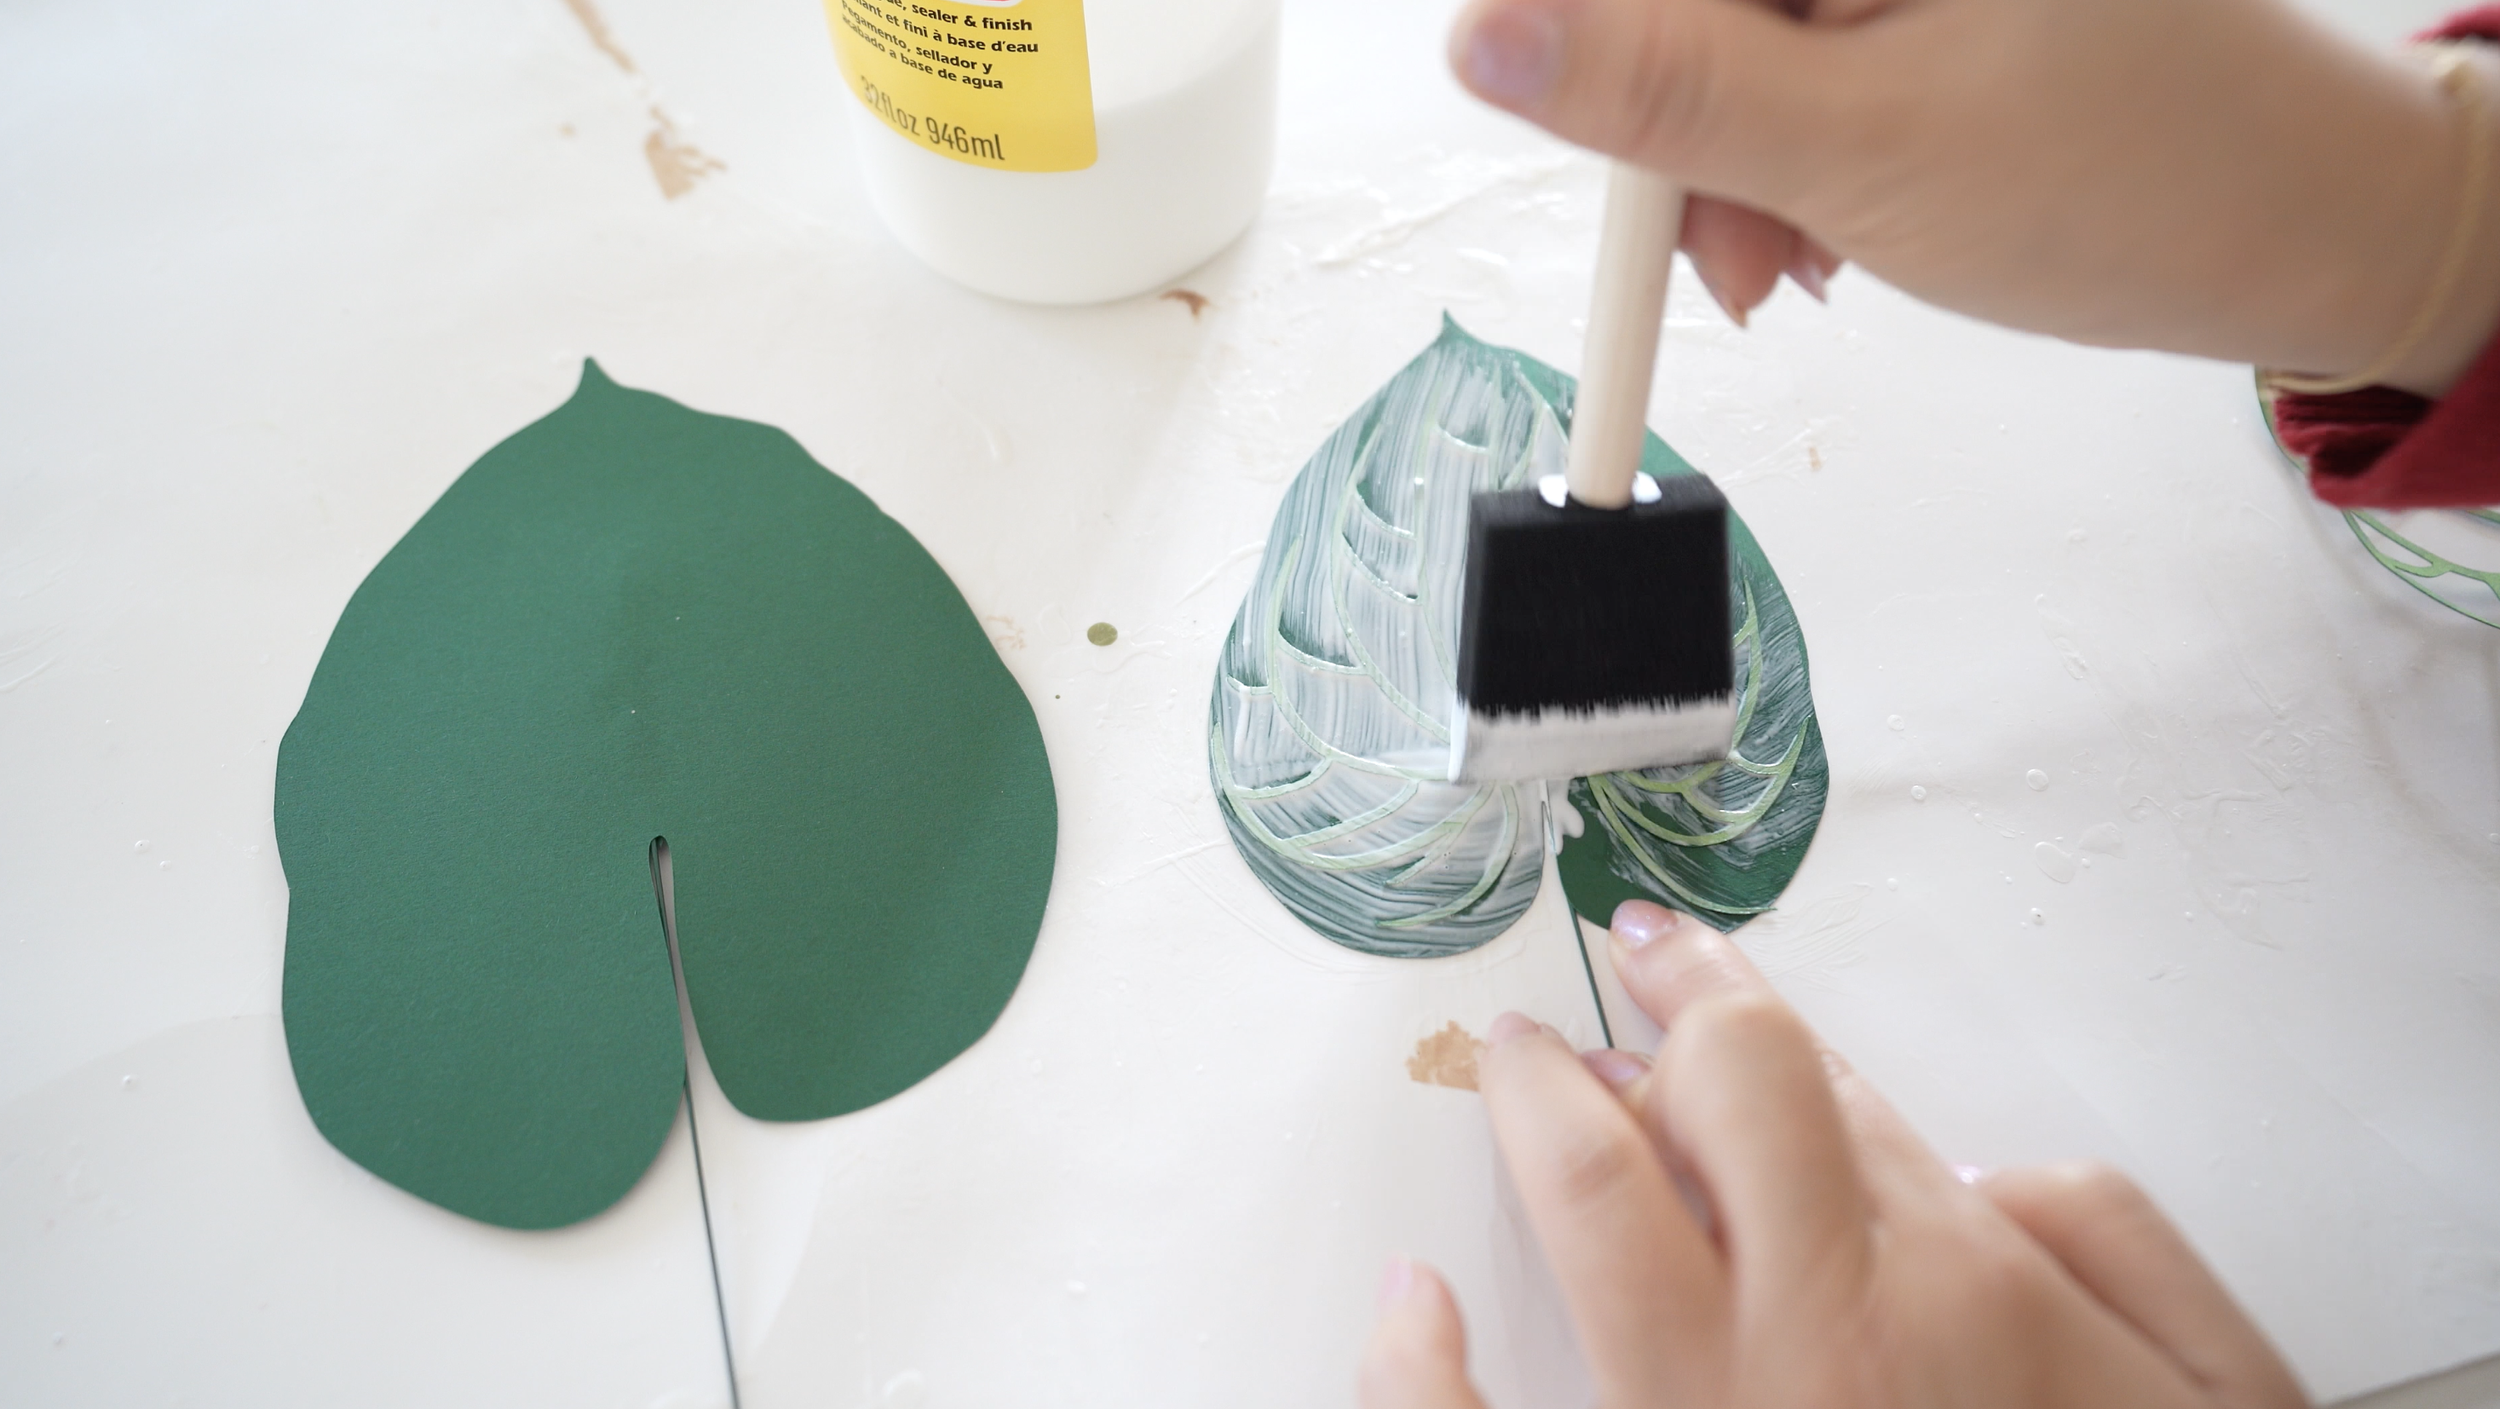
Next, apply matte Mod Podge to the front side of the leaf. Add a little Mod Podge first, press the pattern onto it, and then coat the top entirely. Don’t worry if it looks white; Mod Podge dries clear. Allow about two hours for it to dry completely.
4. Shape the Leaves:
Once dry, shape the leaves by folding them down the middle and curling the edges outward or inward. This step gives your leaves dimension and a lifelike appearance. There’s no right or wrong way to do this—just make sure they’re not flat!
5. Build the Leaves:
Bend the thin floral wire where the leaf ends, and attach a thicker floral wire to it. Use floral tape to secure the two wires together, wrapping the tape all the way down to your desired stem length. Create a mix of taller and shorter stems for a natural look.
6. OTHER PAPER PLANTS:
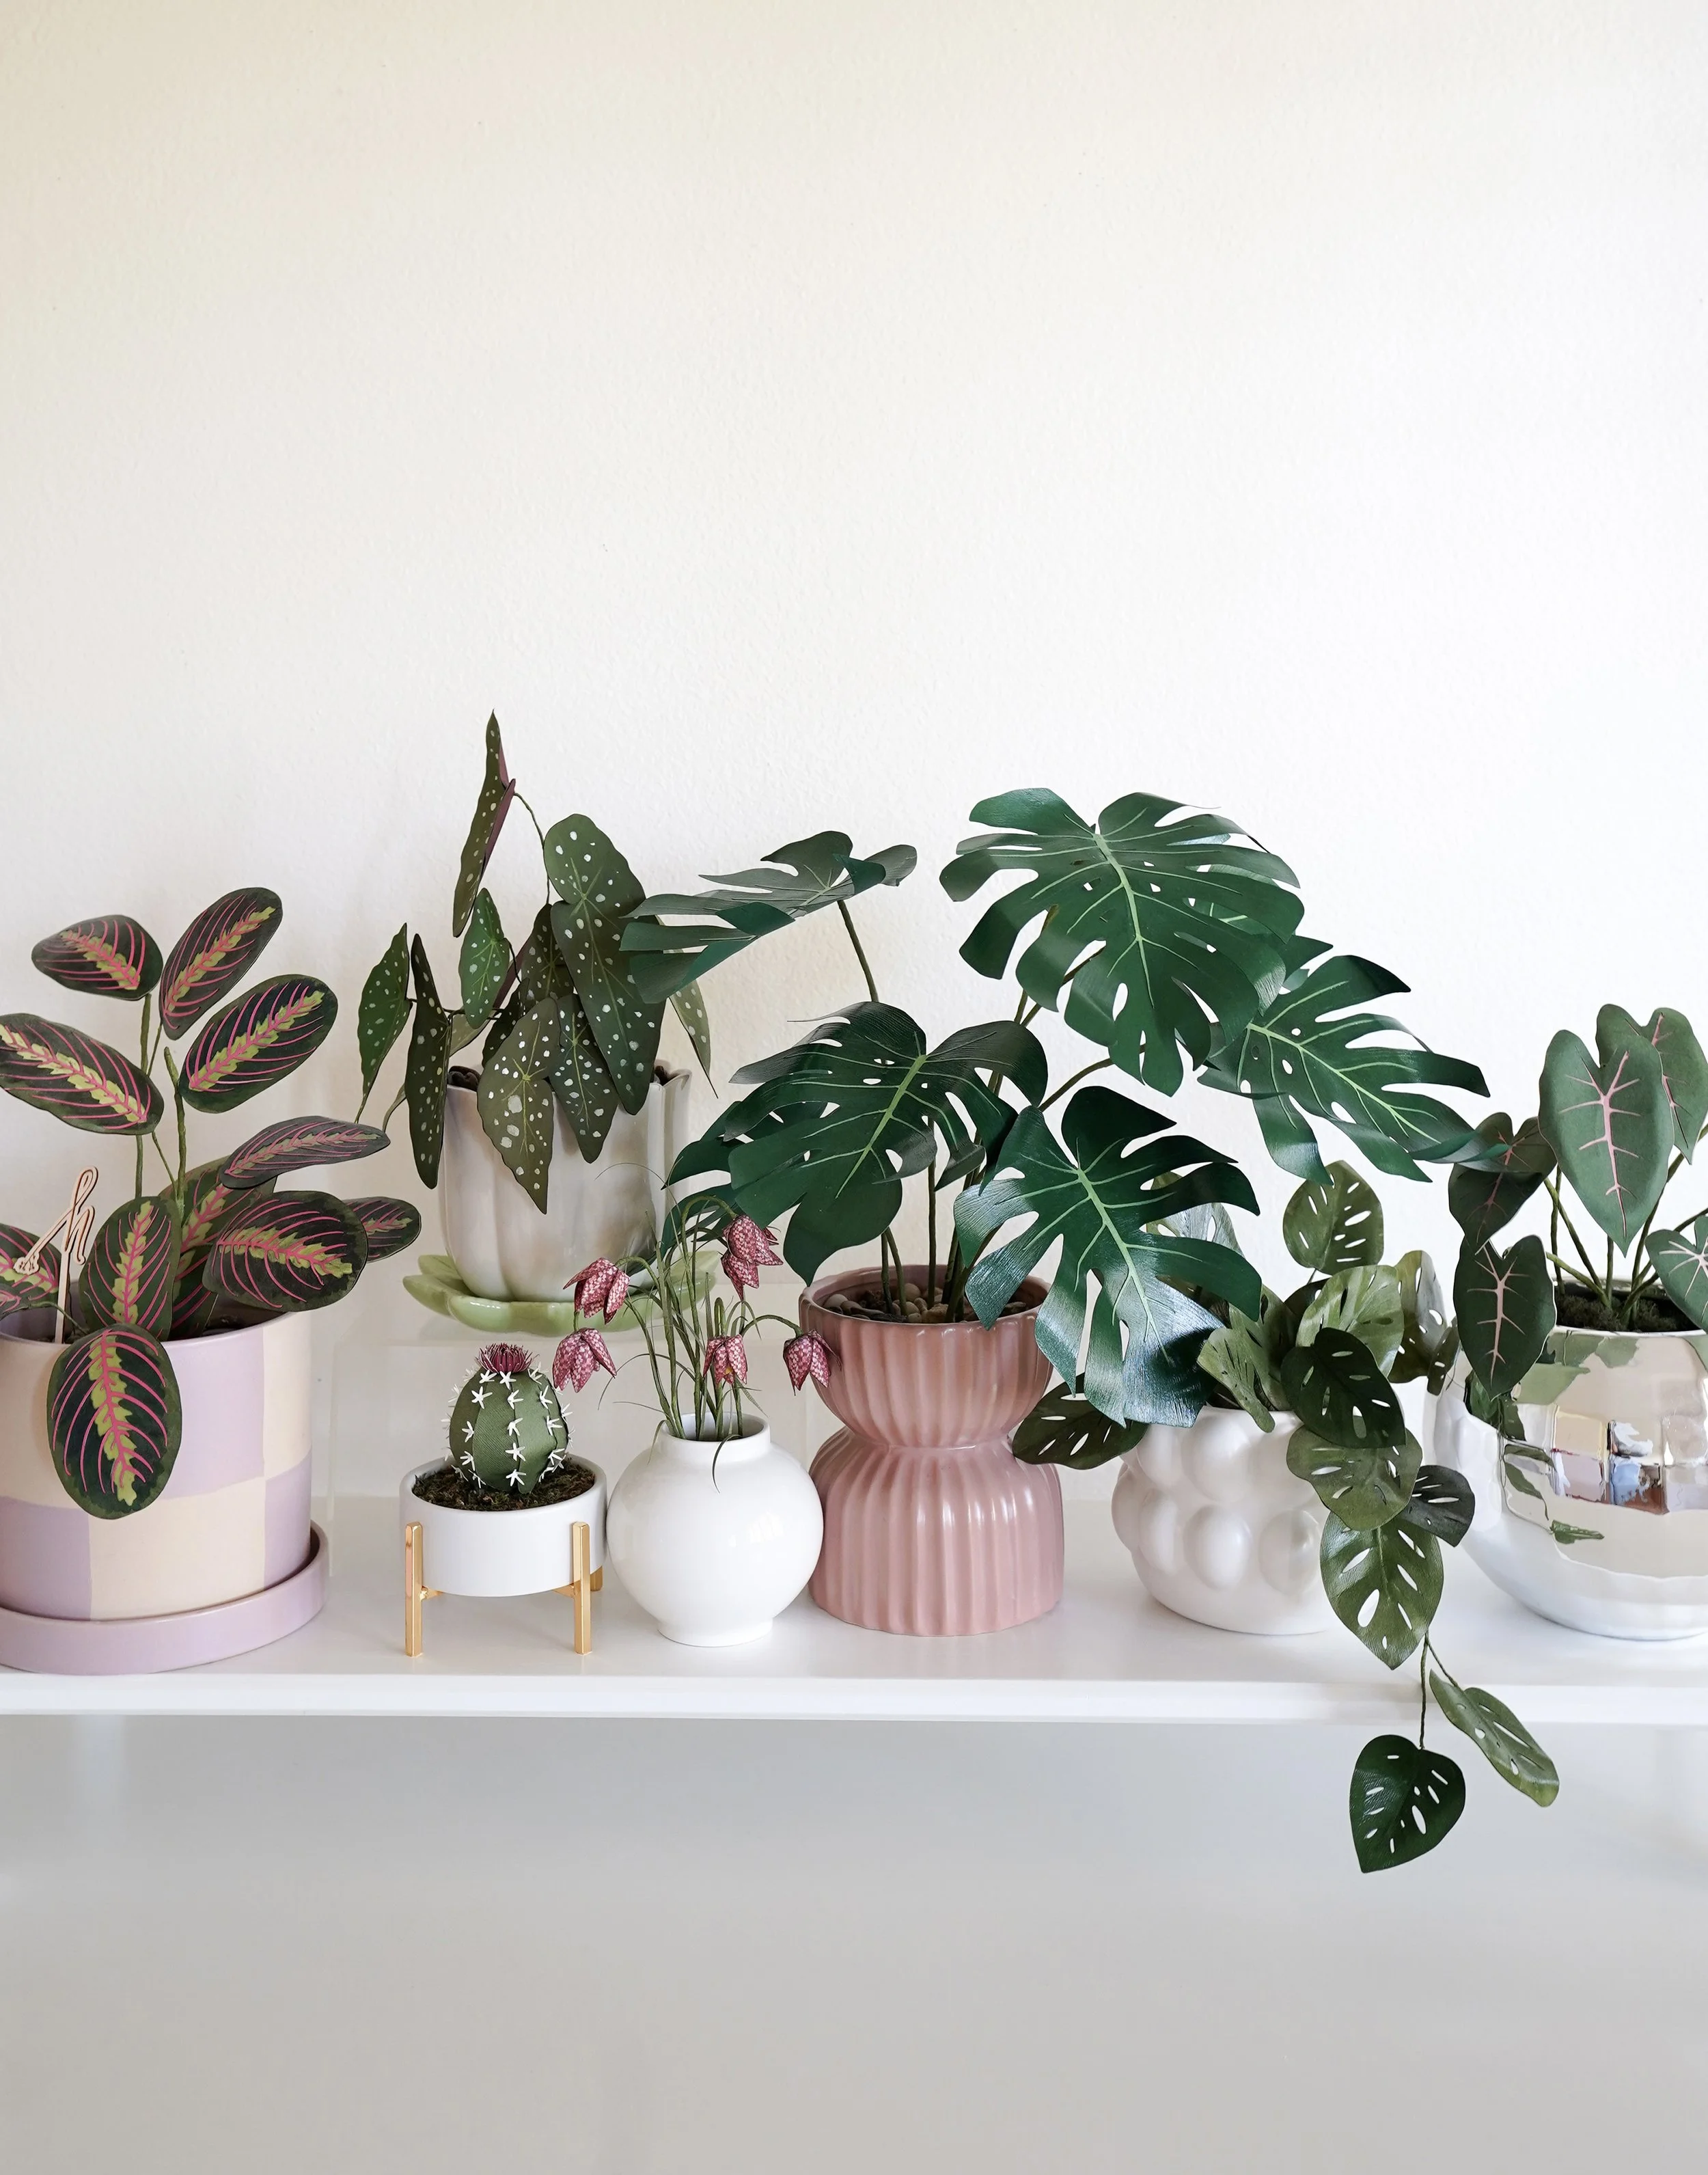
Check out my other paper plants on this playlist- watch here These will be perfect for your home, for your office, and as gifts.
The Final Touch:
Arrange your paper Anthurium Crystal leaves in a pot. I’m making seven for mine, but feel free to customize it to fit your space. The green design mimics the look of an indoor houseplant and adds a lovely pop of greenery to any room—no watering required!
FIND THE FULL TUTORIAL BELOW:
These paper plants are always thriving and make the perfect decor for my dining room. Don’t forget to check out my other paper plant tutorials, watch here. If you enjoyed this project, please like, subscribe, and share on my channel here!
Thank you for crafting with me!
-Sarakim
FIND ME BELOW


