DIY Nail Art Using Removable Vinyl & Cricut
I’ve always enjoyed getting my nails done, but with costs going up and wanting to prioritize the health of my nails, I decided to start doing them at home. That’s when I discovered the magic of DIY nail art with a Cricut machine! Nail art is a fun and creative way to express myself, and with the help of a Cricut, you can achieve easy intricate designs. In this tutorial, I’ll show you how I used removable vinyl to create a gorgeous bow design for my nails. Let’s get started!
Step-by-Step Tutorial:
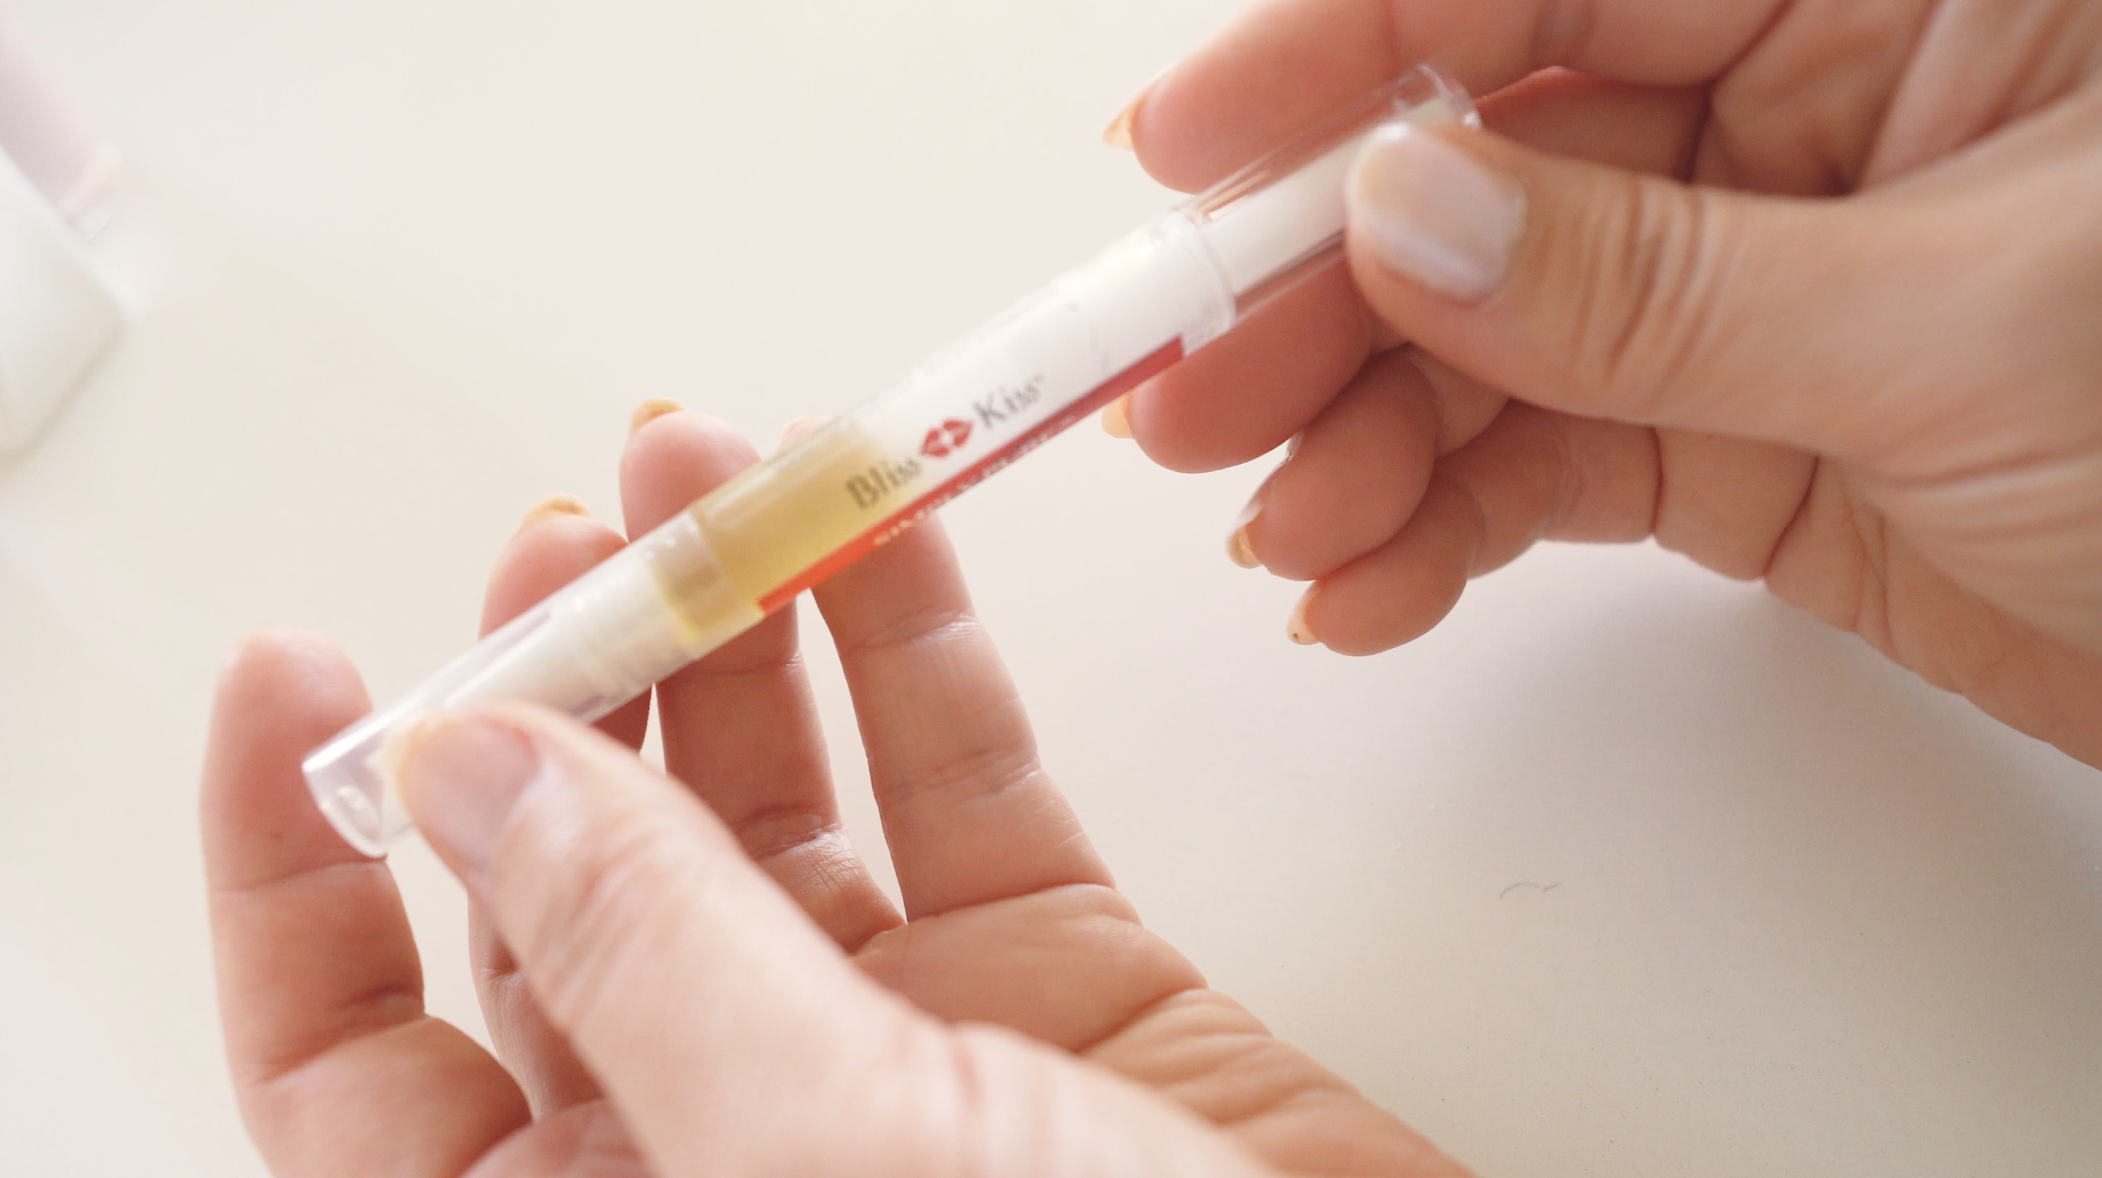
Prepare Your Nails Clean up and apply cuticle oil to your cuticles and file your nails.
Choose a Design I used my free bow template available on my website (linked here), but you can select any design that fits your style. Remember, the design should be less than half an inch to fit perfectly on your nails.
Cut the Vinyl Load your removable vinyl into the Cricut machine. Adjust the settings for intricate designs and ensure the size is set to 0.5 inches or smaller. My Cricut handled these tiny details beautifully!
Apply the Base Color Paint your nails with your chosen base color and allow it to dry completely. This will help the vinyl adhere smoothly.
Place the Vinyl Design Carefully peel off the vinyl design and place it onto your nails. Use tweezers for precise application if needed.
Seal with a Top Coat Once the vinyl is in place, apply a top coat to seal the design and the one I recommended adds a glossy finish and it lasted me for a week until I wanted to change my nail color.
Finish with Cuticle Oil For a salon-worthy look, apply cuticle oil again daily to keep your nails hydrated and healthy.
Tips and Tricks:
Experiment with different colors and designs to match your outfit and holiday.
If you’re new to nail art, start with simpler shapes before attempting intricate designs.
Make sure the vinyl adheres firmly to avoid lifting after applying the top coat.
You could also watch it on my vlog where I test it out for the first time and fell in love with this idea. This DIY nail art project is perfect for a cozy day in your workspace or a fun craft night with friends. I’d love to see your creations! Tag me on social media and let me know which designs you try. Don’t forget to download the free bow template from my website to get started.
Happy crafting and nail designing!
-Sara Kim


