How to Make Paper Geraniums
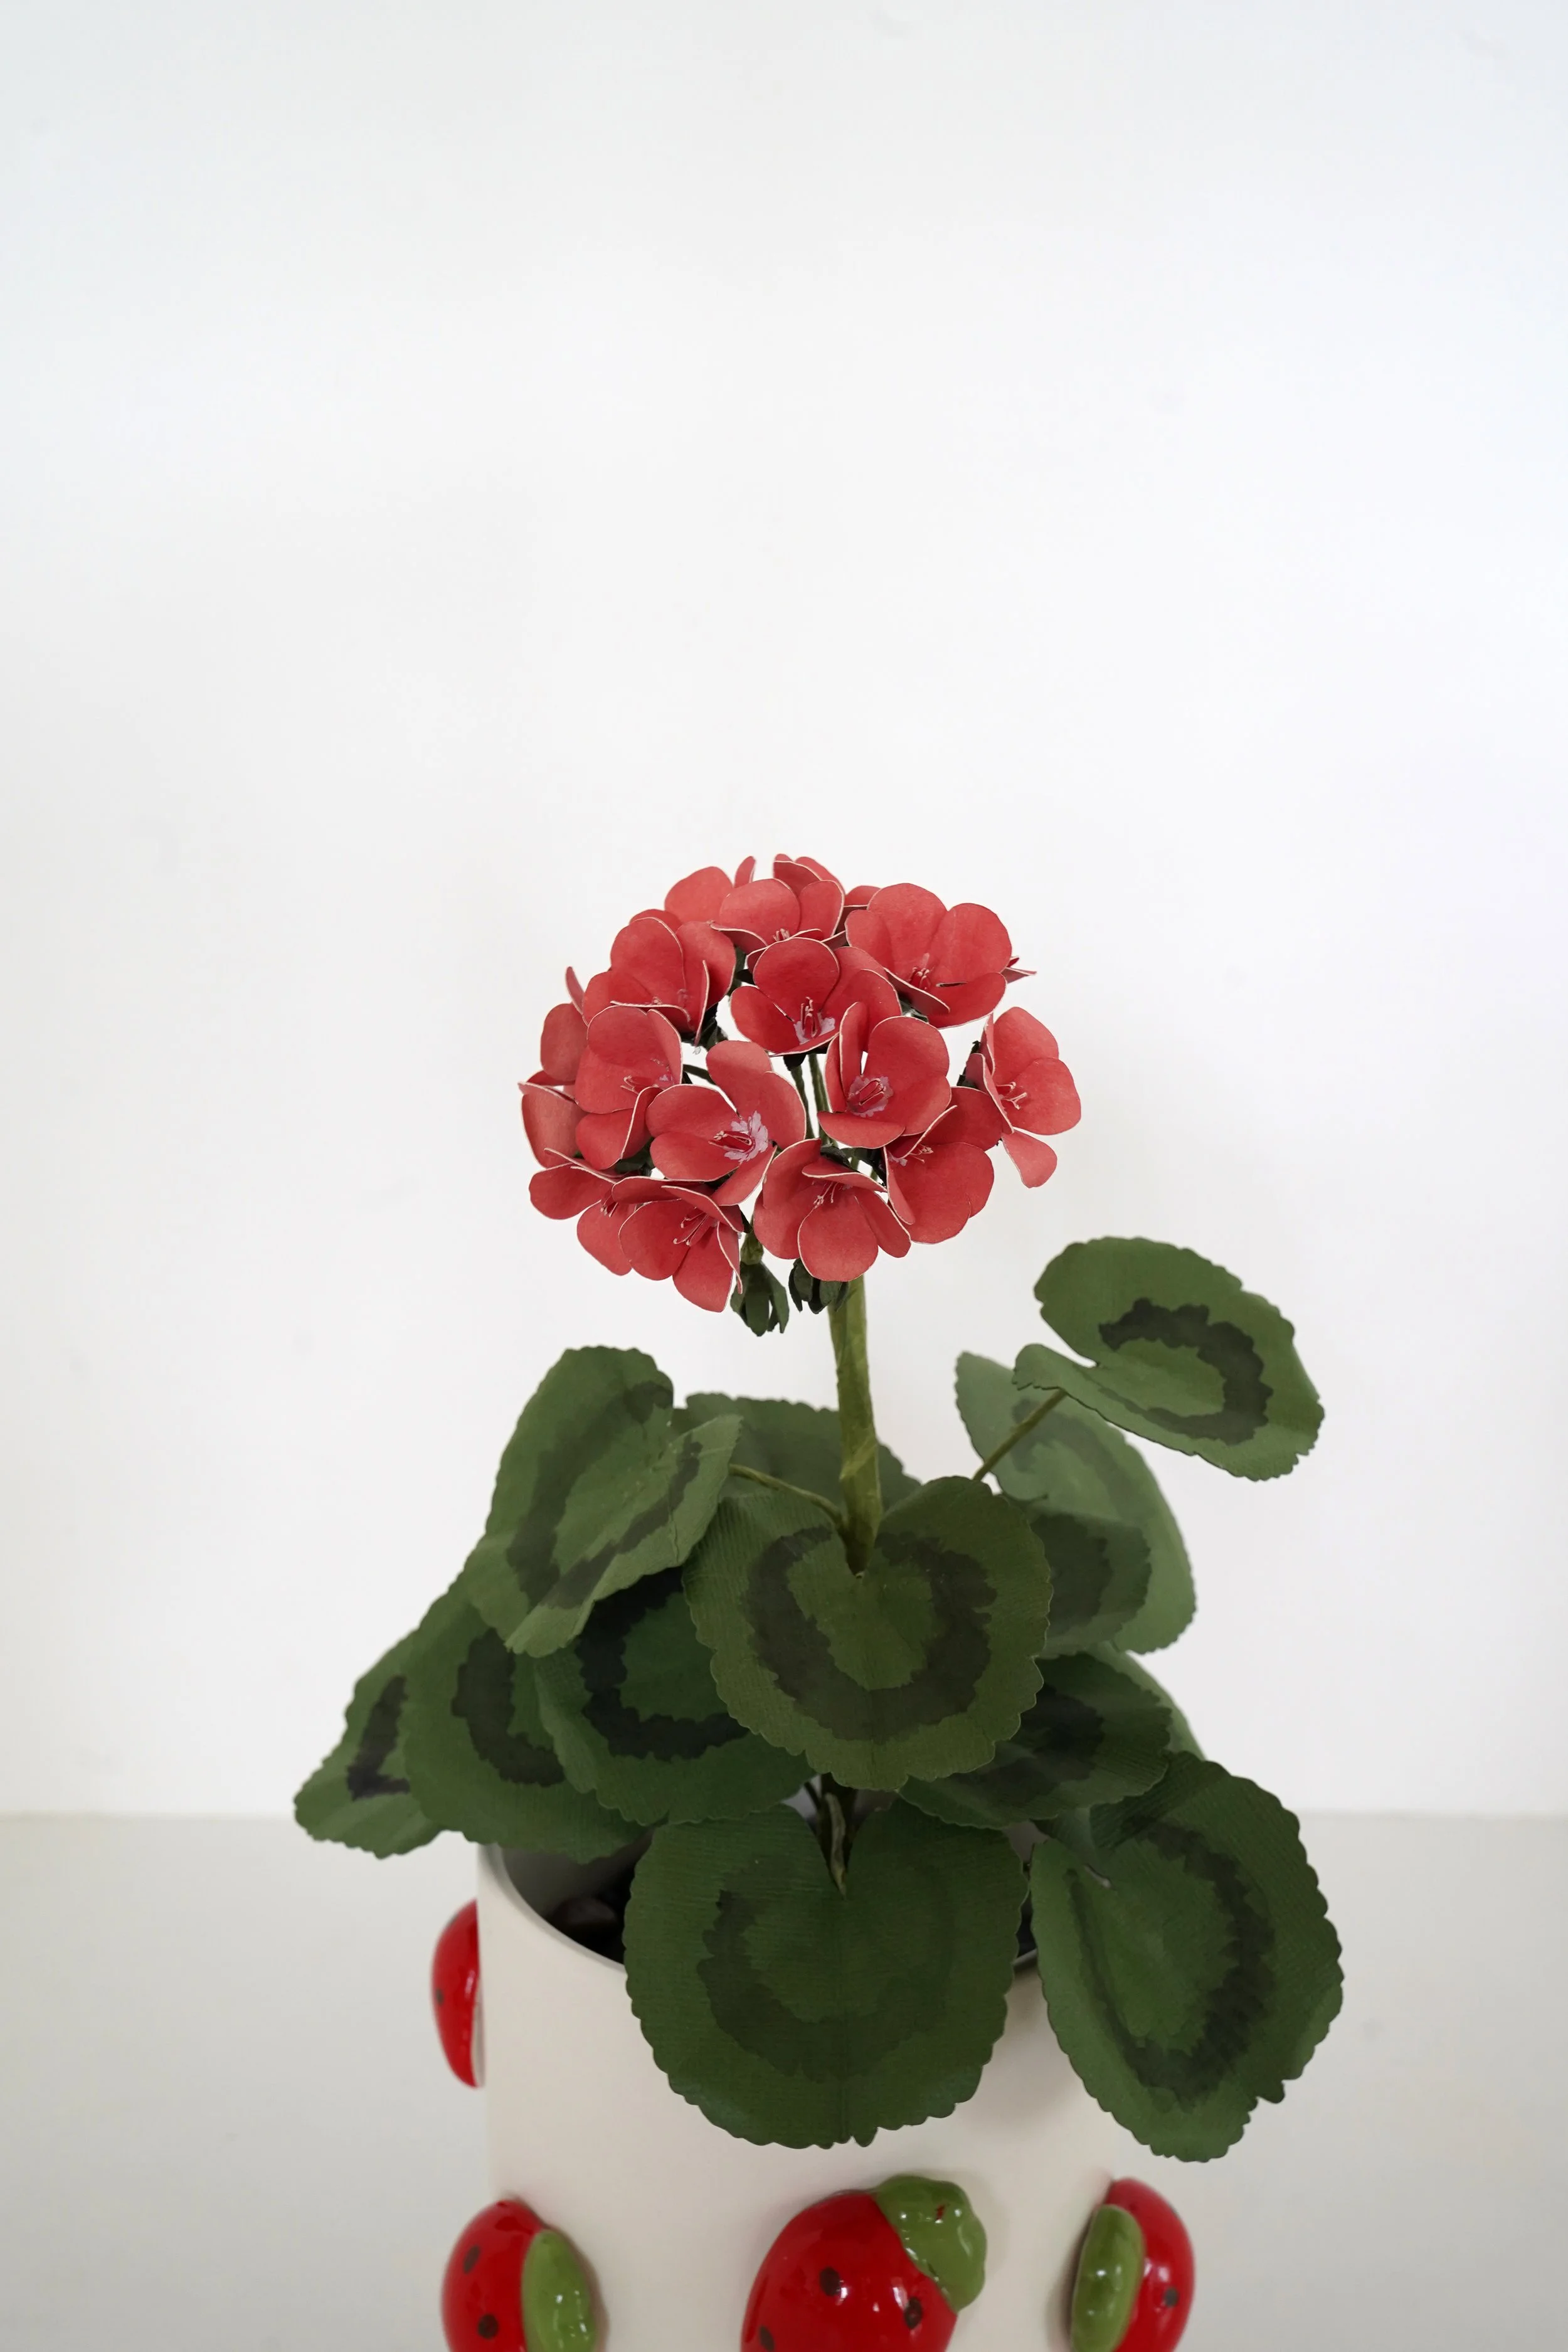
Let me introduce you to the paper geranium—one of my favorite flowers to recreate with cardstock! With their vibrant, clustered blooms and charming leaves, geraniums are so much fun…and this version doesn’t need watering.
In this tutorial, I’ll walk you through every step to create your own paper geranium stem, using cardstock, a cutting machine like Cricut or Silhouette, and some simple shaping techniques. You can grab the template in my shop- https://www.handmadebysarakim.com/digital-templates/geranium and find a full supply list below.
✂️ Supplies You'll Need
Geranium Template- https://www.handmadebysarakim.com/digital-templates/geranium
Green, Pink Cardstock Paper (use discount code “SARAKIM10”)- https://www.12x12cardstock.shop/?p=BkRvWGQ5n
Green Floral Wire- https://bit.ly/3RVT5Z2
Green Thicker Floral Wire- https://bit.ly/4jqHGwv
Acrylic Marker- https://bit.ly/4hm4XiK
Alcohol Marker- https://bit.ly/3CE6n8N
Wire Cutter + Poking Tool- https://bit.ly/3uv7QEI
Green Floral Tape- https://bit.ly/2VtGXVP
White glue- https://bit.ly/3PAi42t
Cricut Maker-https://bit.ly/3M24JhI
Silhouette Cameo- https://bit.ly/42M6Ooz
Step 1: Cut the Flowers
Start by cutting out about 20 flower pieces using the template and your cutting machine. I used red cardstock for mine, but geraniums also come in shades of pink, white, and even deep purple—feel free to get creative with color!
Each flower has a little tab and a fringe center piece that you’ll need to assemble.


Step 2: Add Optional Marker Details
Using a white acrylic marker, add short strokes starting from the edge and moving toward the center of each petal. This is totally optional—some geraniums are solid in color, while others have this soft white detailing. It adds a nice dimension!
Step 3: Shape the Petals
Once the marker is dry:
Stack a few flowers together.
Gently shape the sides of the petals inward.
Then go back and curl the petal tips outward to give them life.
Repeat this for all 20 flowers.
Step 4: Assemble the Flowers
Each flower has a small tab. Add a dab of hot glue to the tab, attach it to the back of the flower, and press the petals together so they slightly overlap.
For the center fringe:
Use your quilling tool or fingers to tightly roll it up.
Add hot glue to the bottom and attach it to the center of your flower.


Step 5: Build the Green Base
The bottom green leaf has a tab too:
Fold the opposite side toward the tab to line it up.
Glue the tab down to close it.
Use your poking tool to open it slightly, then curl the leaves back to give them shape.
Step 6: Add the Floral Wire
Take thin floral wire and bend a small loop at one end.
Slide the wire through the green base.
Add glue before securing the flower on top of it.
Attach the flower to the green base, pushing the petals upward for a tight fit.
Repeat for all 20 flowers.
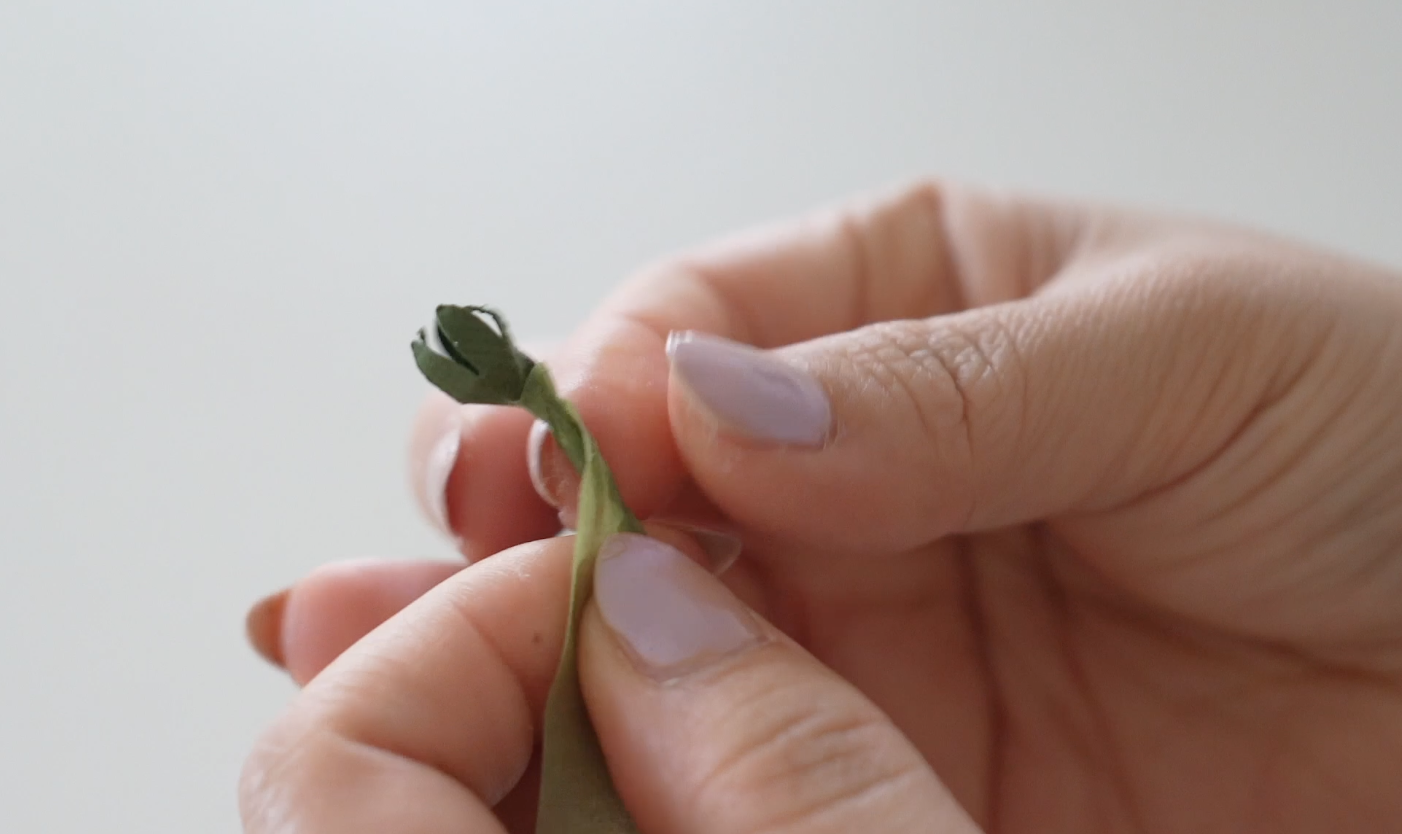
You can also make a few closed buds by following the same steps—but skip adding the flower on top. Just curl the green leaves inward to mimic unopened blooms.
Step 7: Add Floral Tape
Floral tape about 2 inches below each flower and the buds. This keeps things neat and tidy and preps them for grouping.


Step 8: Make the Leaves
I include two leaf versions in the template. To mimic real geranium leaves:
Use black watercolor to paint a ring near the center of the leaf.
While it’s still damp, paint strokes from the ring toward the center.
Let them dry completely.
Fold the leaves down the middle, then again toward the center at angles (like clock positions—12:00, 2:00, etc.).
Curl the edges back and slightly twist between the folds for that signature wavy look.
Attach each leaf to a thick floral wire using the loop and included back.
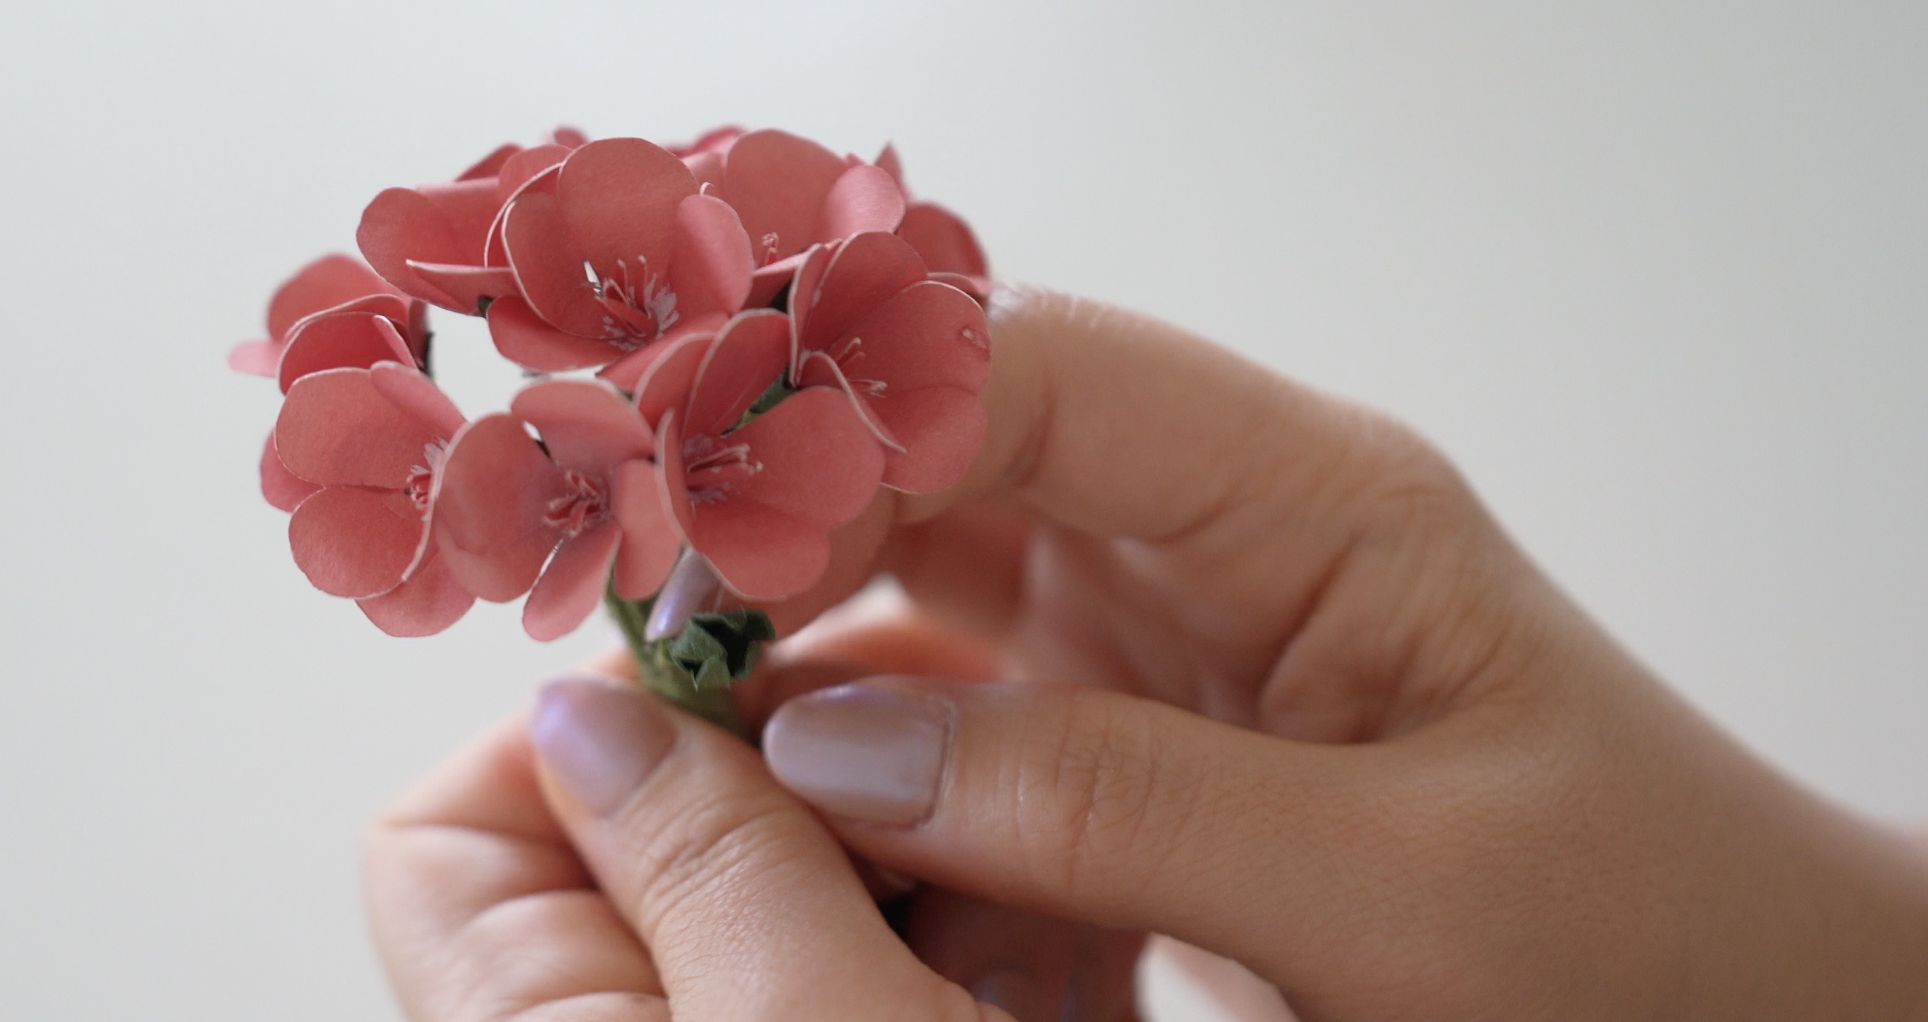
Step 9: Assemble the Final Stem
Group your flowers one by one in a circular pattern to form a dome.
Add floral tape as you go.
Below the flowers, add the leaves and buds.
Attach a thicker floral wire to the base to form the full stem.
Continue taping and add leaves lower down the stem, angling some more horizontally to fill it out.
You can stop here for a full stem to place in a vase, or...
I planted mine in a small pot and added faux rocks around the base to secure everything. You can totally make this a standalone potted plant or use multiple stems for a fuller look.
Geraniums are one of those flowers that bring color and warmth to any room, and I love how versatile this project is. You can make a full pot, a single stem, or even bundle them with other paper plants from my collection.
The template is available in my shop, and I’d love to see what you create!
Happy crafting!
-SaraKim