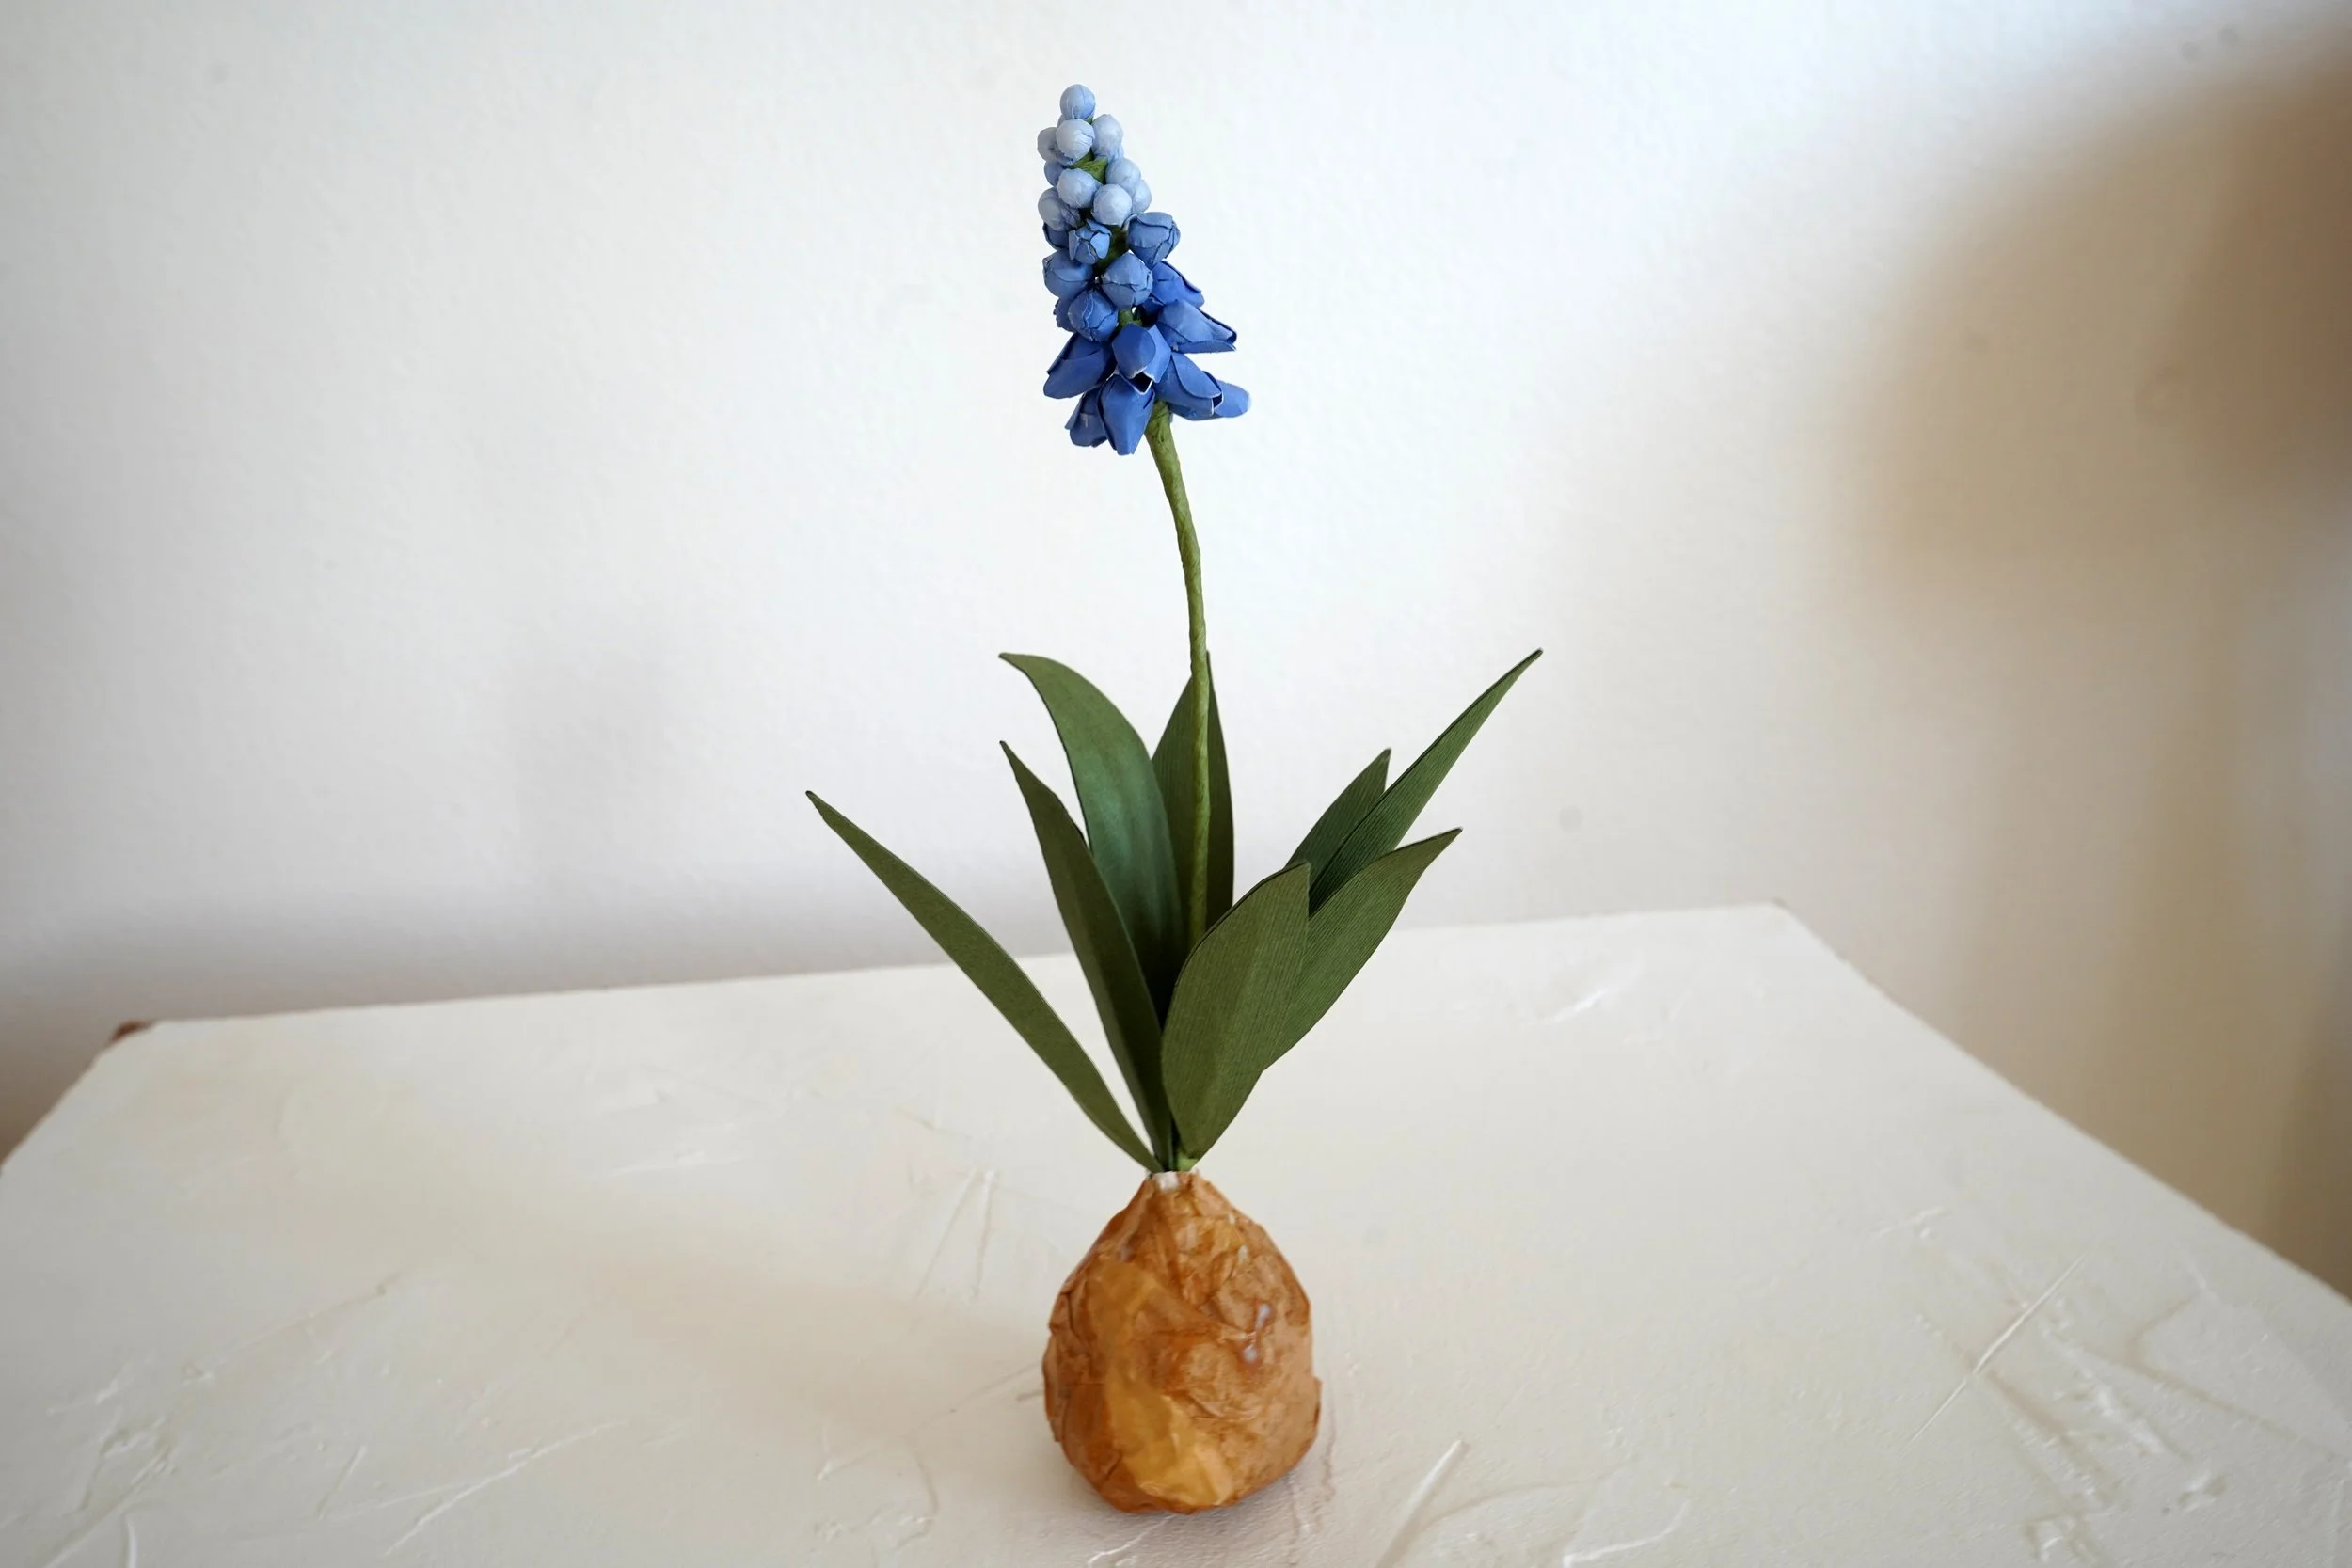
How to Make Stunning Paper Muscari (Grape Hyacinth)
Hi everyone! Welcome back to my blog, where I share creative crafting ideas and tutorials. Today, I’m thrilled to guide you through making gorgeous paper muscari, also known as grape hyacinth. These delicate paper flowers are perfect for home decor or gifting, and they display beautifully on bookshelves or in vases.
Don’t forget to check out my video tutorial linked below! All the supplies and templates you’ll need are listed there as well.
Supplies You’ll Need
Muscari Template- https://www.handmadebysarakim.com/digital-templates/muscari
White or off-white tissue paper + Brown tissue paper
28-gauge floral wire (or 24-gauge if unavailable)
White glue with a fine tip
Styrofoam ball, foil, masking tape, and matte Mod Podge
Floral tape
Step 1: Preparing the Petals
Cut the shapes: Use the template to cut 14 of each petal shape. I ended up using 12 of each, but extras are handy for mistakes.
Add gradient shading: Use the alcohol marker to create a gradient on the larger petal shapes and tissue paper strips. Be gentle to avoid tearing the tissue.
Make tissue squares: Cut tissue paper into 1–2-inch strips, then into squares. I made 14 squares in total.
Step 2: Creating the Flower Centers
Wire the beads: Twist floral wire tightly around 14 of the smaller 6mm beads.
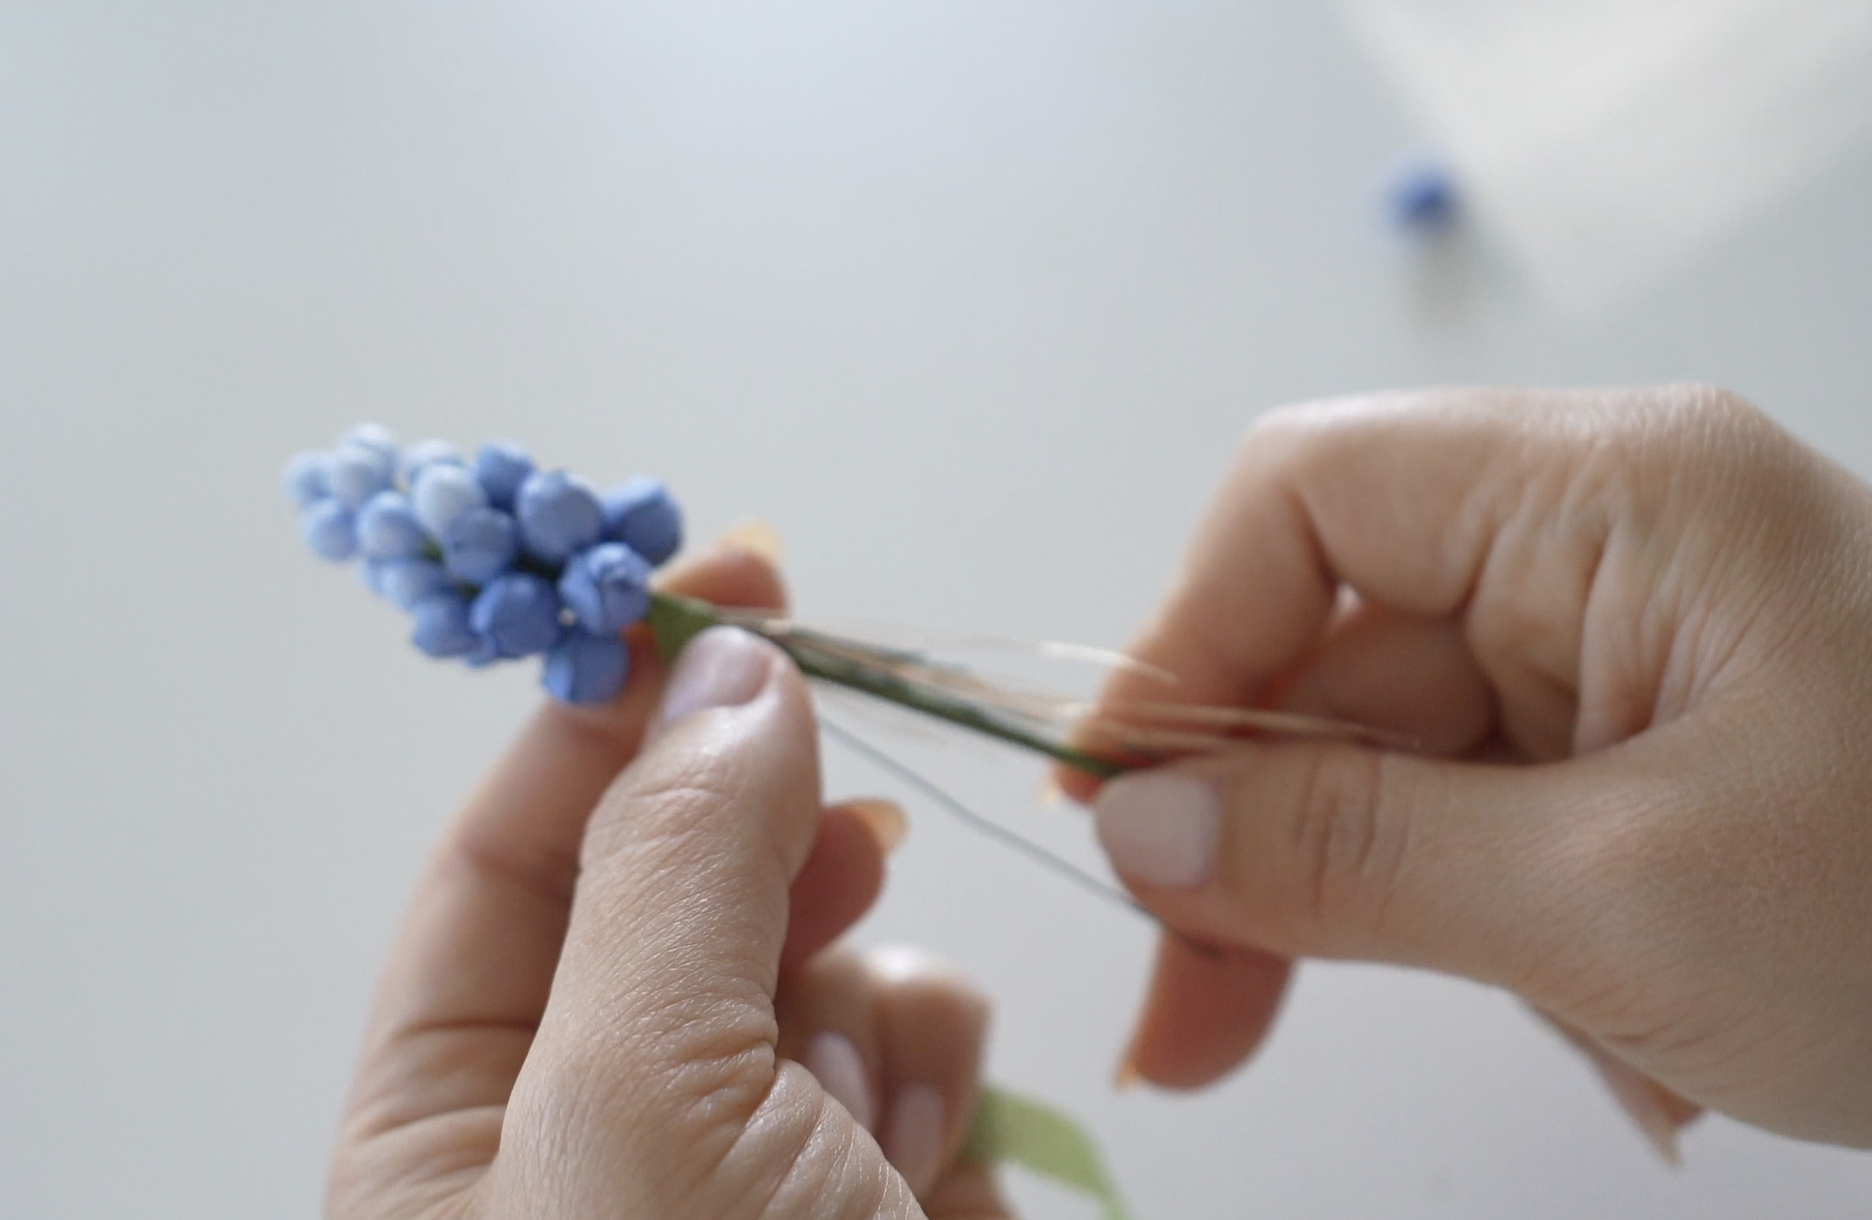
Wrap the tissue: Place a tissue square over each bead and secure it onto the wire. This forms the flower to be round.
Step 3: Shaping and Assembling Petals
Shape the petals: Use a shaping ball tool to create natural curves in each petal.
Attach petals: Poke a hole in the center of each petal, thread an 8mm bead onto the wire, and glue the petals around it:
Smaller petals: Fully close these around the bead for a tight fit.
Larger petals: Close only the smaller three petals first, then glue the larger three loosely for a rounded look.
Use white acrylic paint to add a circle detail to the larger petals.
Step 4: Adding the Leaves
Cut leaf pairs in various sizes.
Fold the leaves down the center and sandwich floral wire between two pieces using white glue.
Shape the leaves for a natural look.
Step 5: Assembly
Layer the components on the wire stem in this order:
Tissue-covered bead centers
Smaller petals
Larger petals
Leaves at the base
Secure each layer with floral tape. To add sturdiness, insert a thicker floral wire in the middle and tape it to the stem.
Step 6: Optional Bulb Base
If you'd like to add a realistic bulb base:
Roll brown cardstock into a cylinder and attach it to a Styrofoam ball.
Cover with foil, flatten the bottom, and secure with masking tape.
Apply brown tissue paper with matte Mod Podge and let it dry.
Trim the flower stem to fit and secure it into the bulb.
Find the full video tutorial on my channel here- https://youtu.be/0qagaJGL5Wg ! Your stunning paper muscari is now ready! These flowers make beautiful single-stem gifts or decorations for any space. I added mine to a bookshelf, and it’s a lovely pop of color in my home.
I’d love to see your creations! Share them with me on social media and tag me in your posts. Don’t forget to like this tutorial and subscribe to my channel for more paper crafting ideas. Happy crafting!
-Sara Kim


