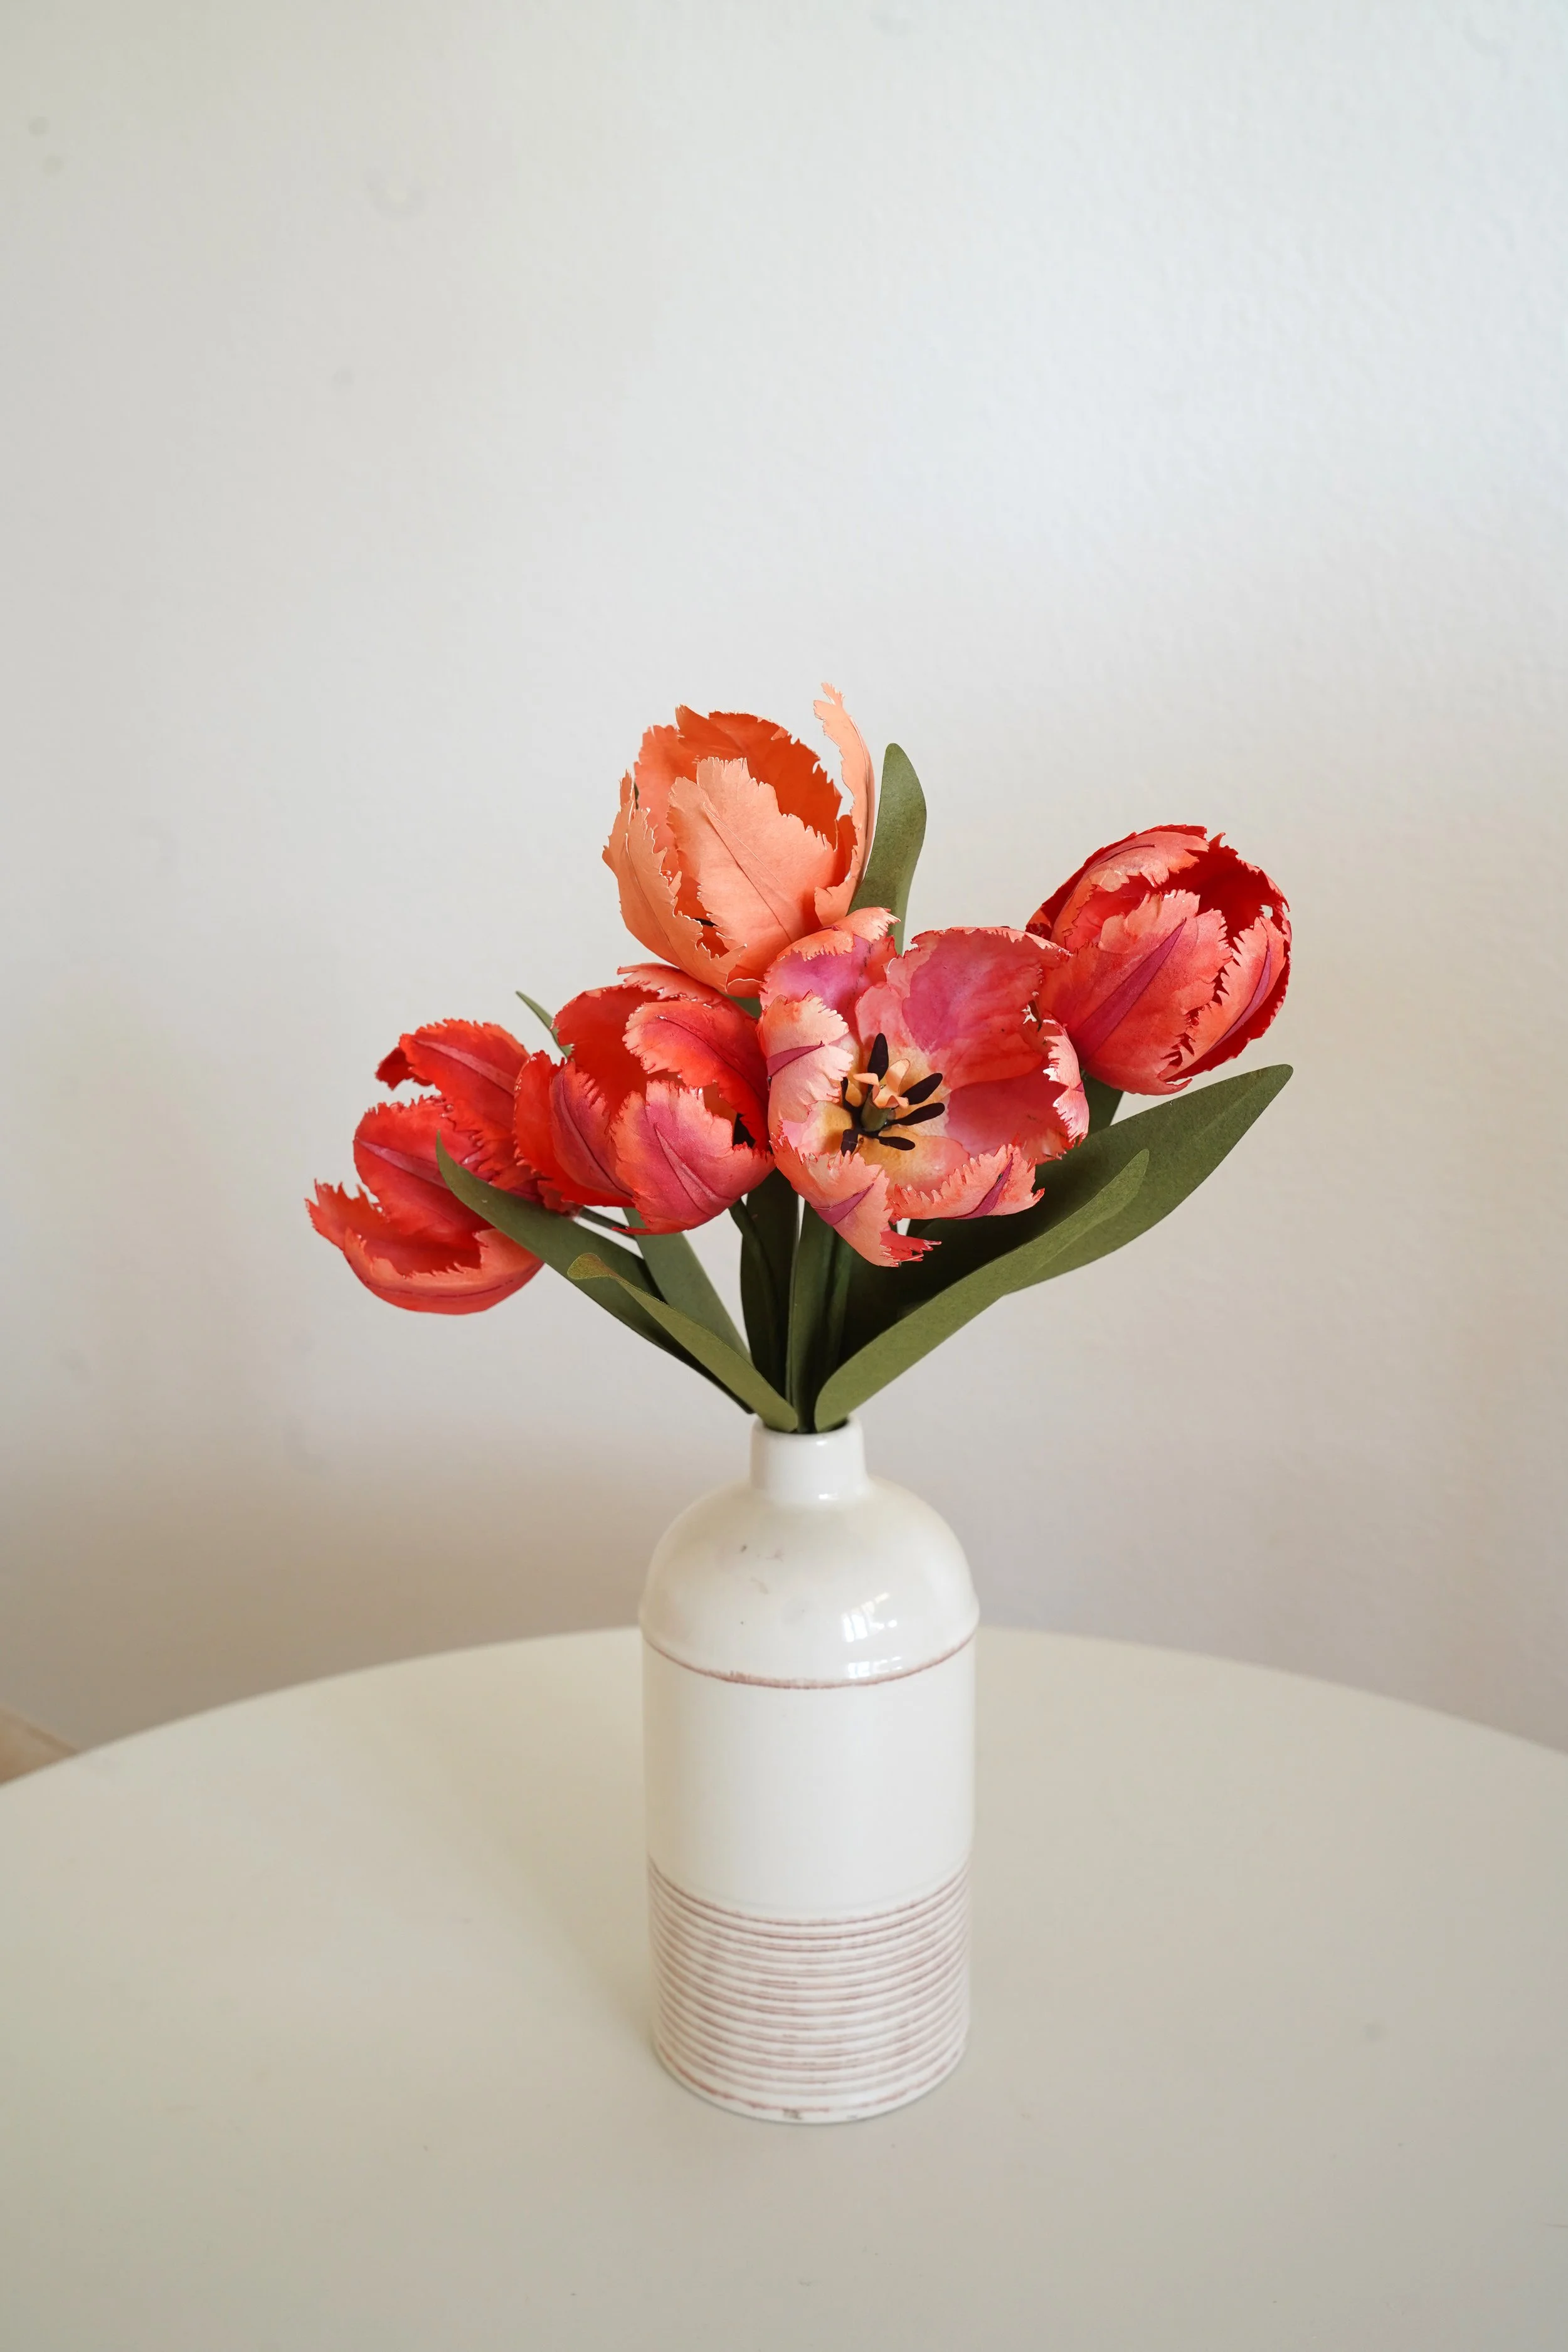
DIY Paper Parrot Tulip
Spring is in the air, and what better way to celebrate the season than with a beautiful handmade paper parrot tulip? In this tutorial, I’ll show you how to craft a lifelike parrot tulip using cardstock paper, watercolor, and a cutting machine like Cricut or Silhouette. Whether you're new to paper flowers or looking for a fun project, this DIY will help you create a stunning floral masterpiece perfect for spring and Easter decor!
Materials Needed:
Parrot Tulip Template- https://www.handmadebysarakim.com/digital-templates/parrottulip
Cream Cardstock Paper, Yellow Cardstock Paper (use discount code “SARAKIM10”)- https://www.12x12cardstock.shop/?p=BkRvWGQ5n
Green Cardstock paper- https://bit.ly/3nyO4Yf
Thick Floral Wire Stem- https://bit.ly/3S9Wsg5
Thin Floral Wire- https://bit.ly/4hFMYTe
Watercolor palette- https://bit.ly/3n2E1tH
Watercolor travel brush- https://bit.ly/32Wd5VE
Green floral tape- https://bit.ly/3t3r1aY
Brown floral wire- https://bit.ly/3elPLnJ
Scissors- https://bit.ly/3JOabTj
Hot glue- https://bit.ly/3n2iEZo
Cricut Maker- https://bit.ly/3BYV4Cr
Silhouette Cameo- https://bit.ly/31IXUMf
Step 1: Cut the Petals and Center Pieces
Using your cutting machine, prepare six petal pieces, center pieces (yellow and dark brown/black), and wire cut files. I chose to use white cardstock and watercolor for a gradient effect, but you can use pre-colored paper for different parrot tulip variations.
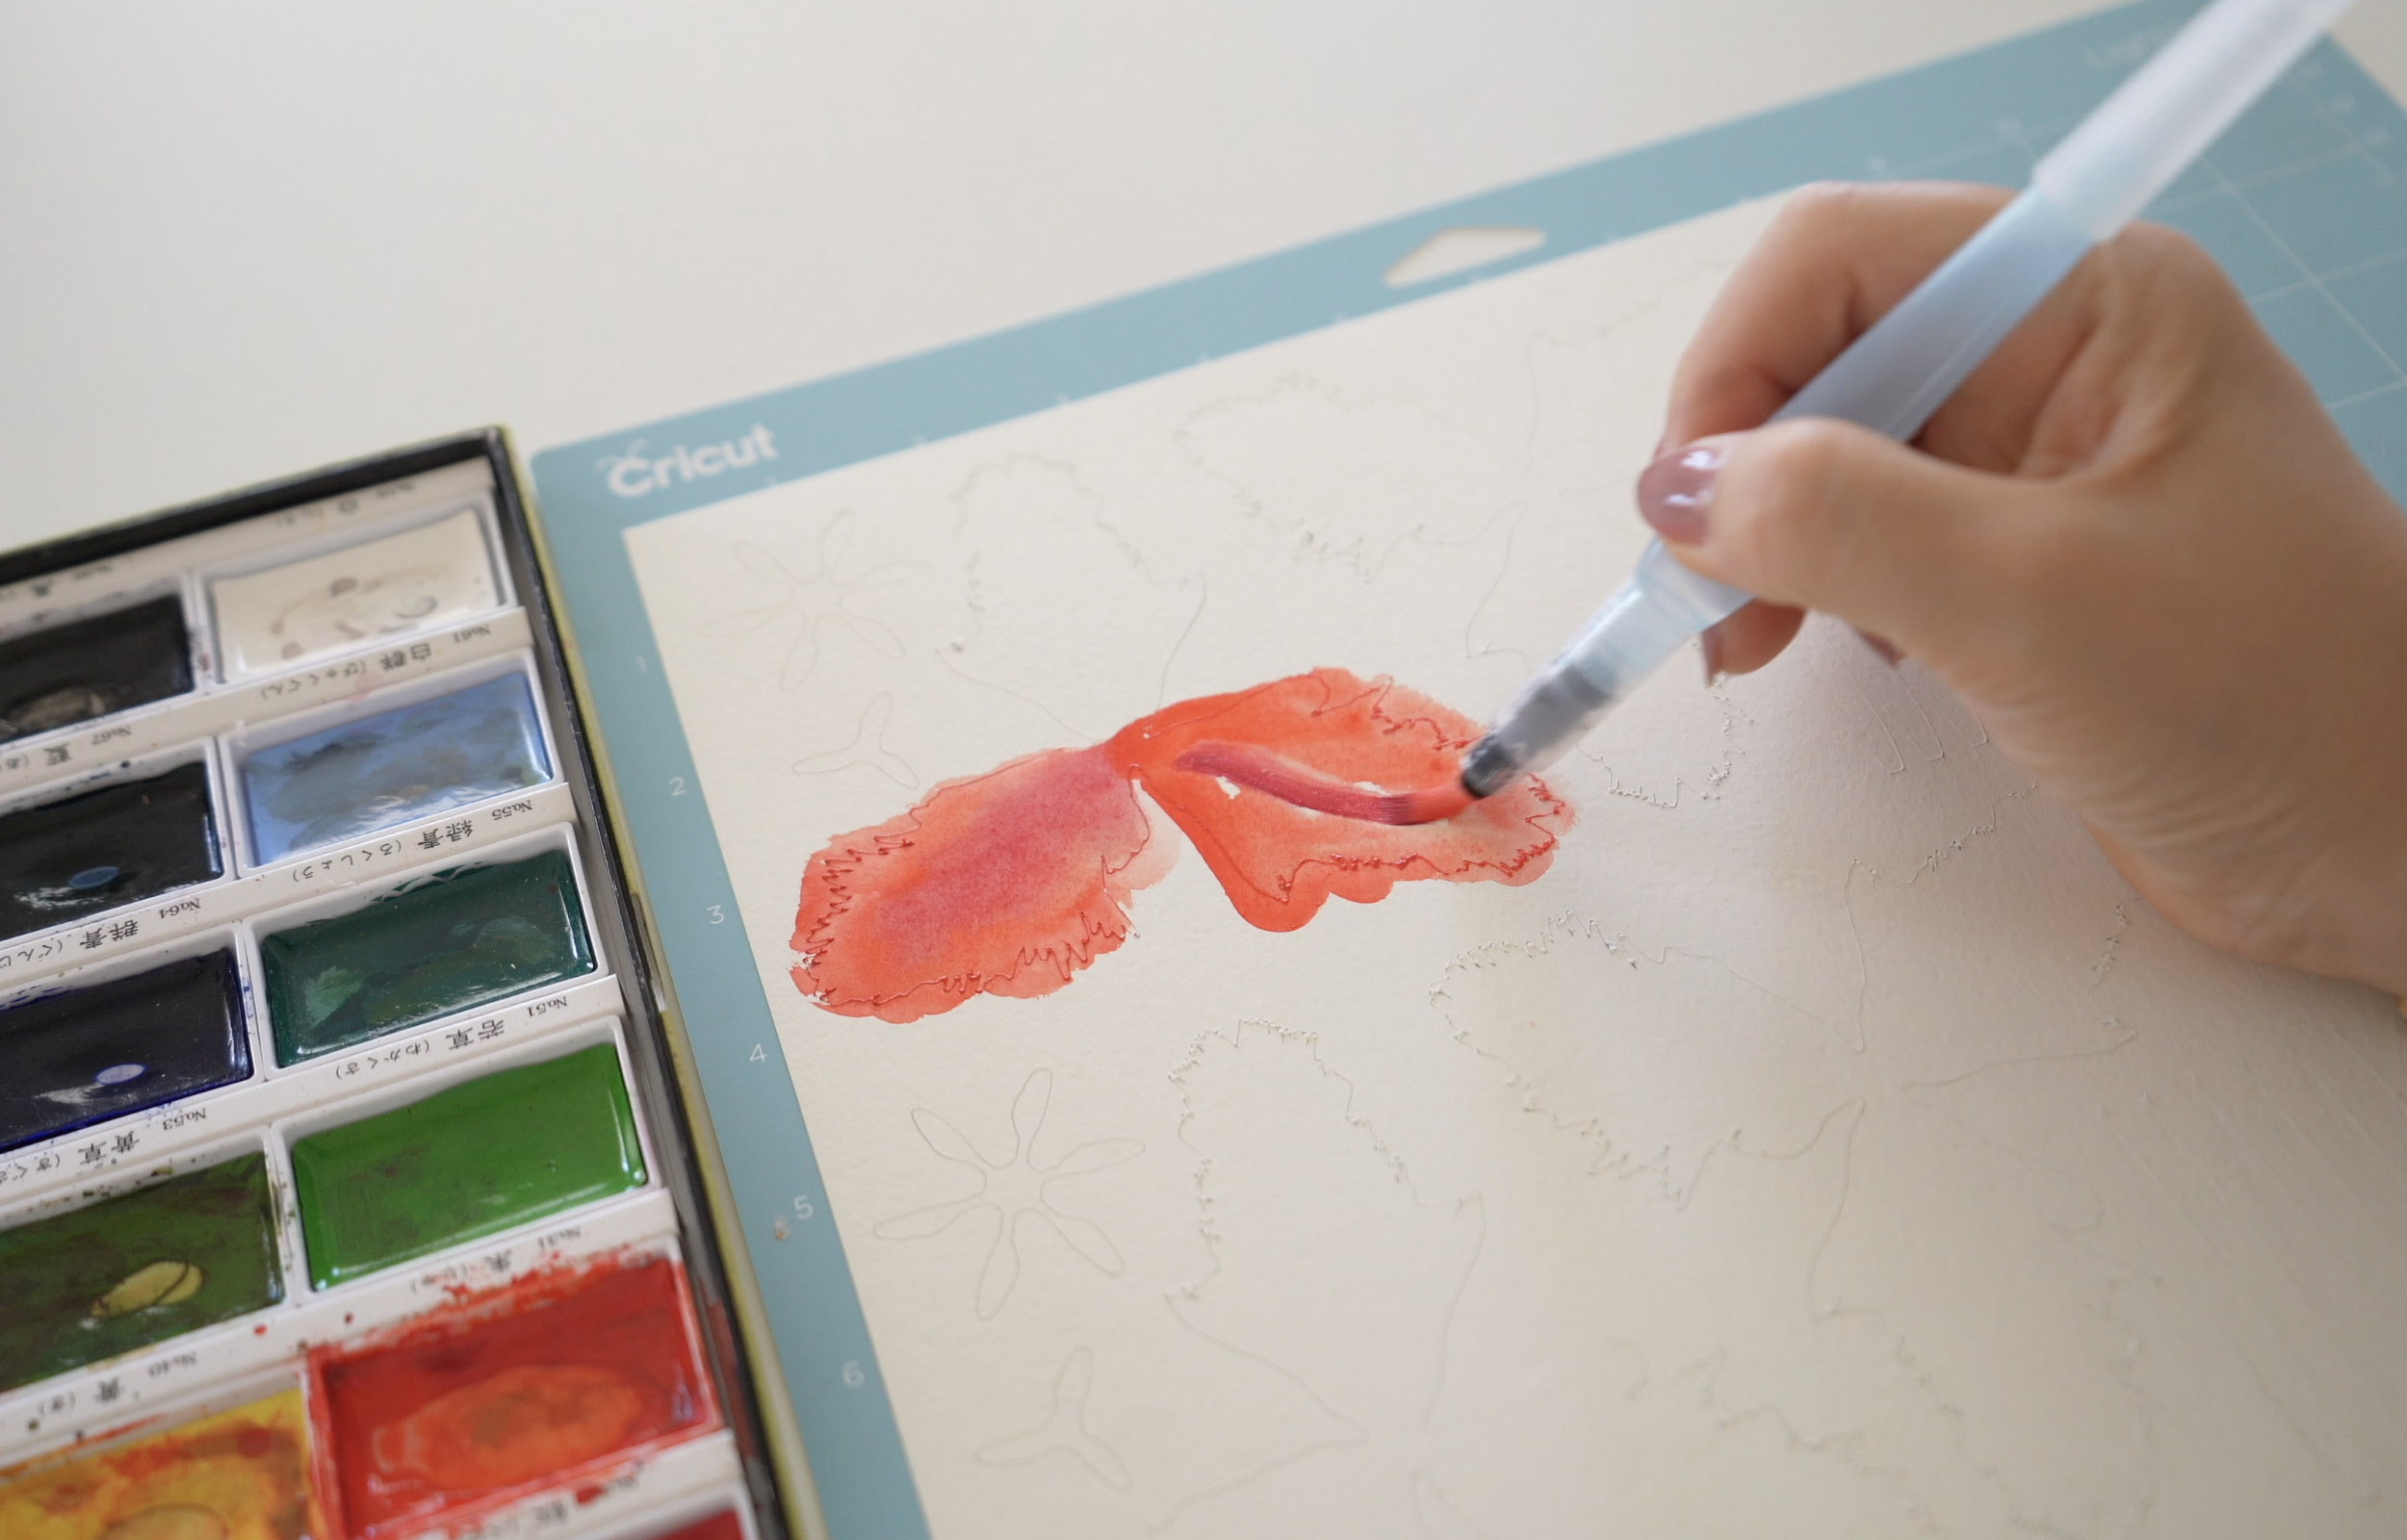
Step 2: Watercolor the Petals
Take your watercolor brush and paint the petals with an orange-red hue. Don’t worry about precision—parrot tulips have a natural, organic look! Add a deeper pink-red to the center for dimension. Flip the petals over and add yellow near the base to mimic the real flower’s gradient. Let them dry completely.
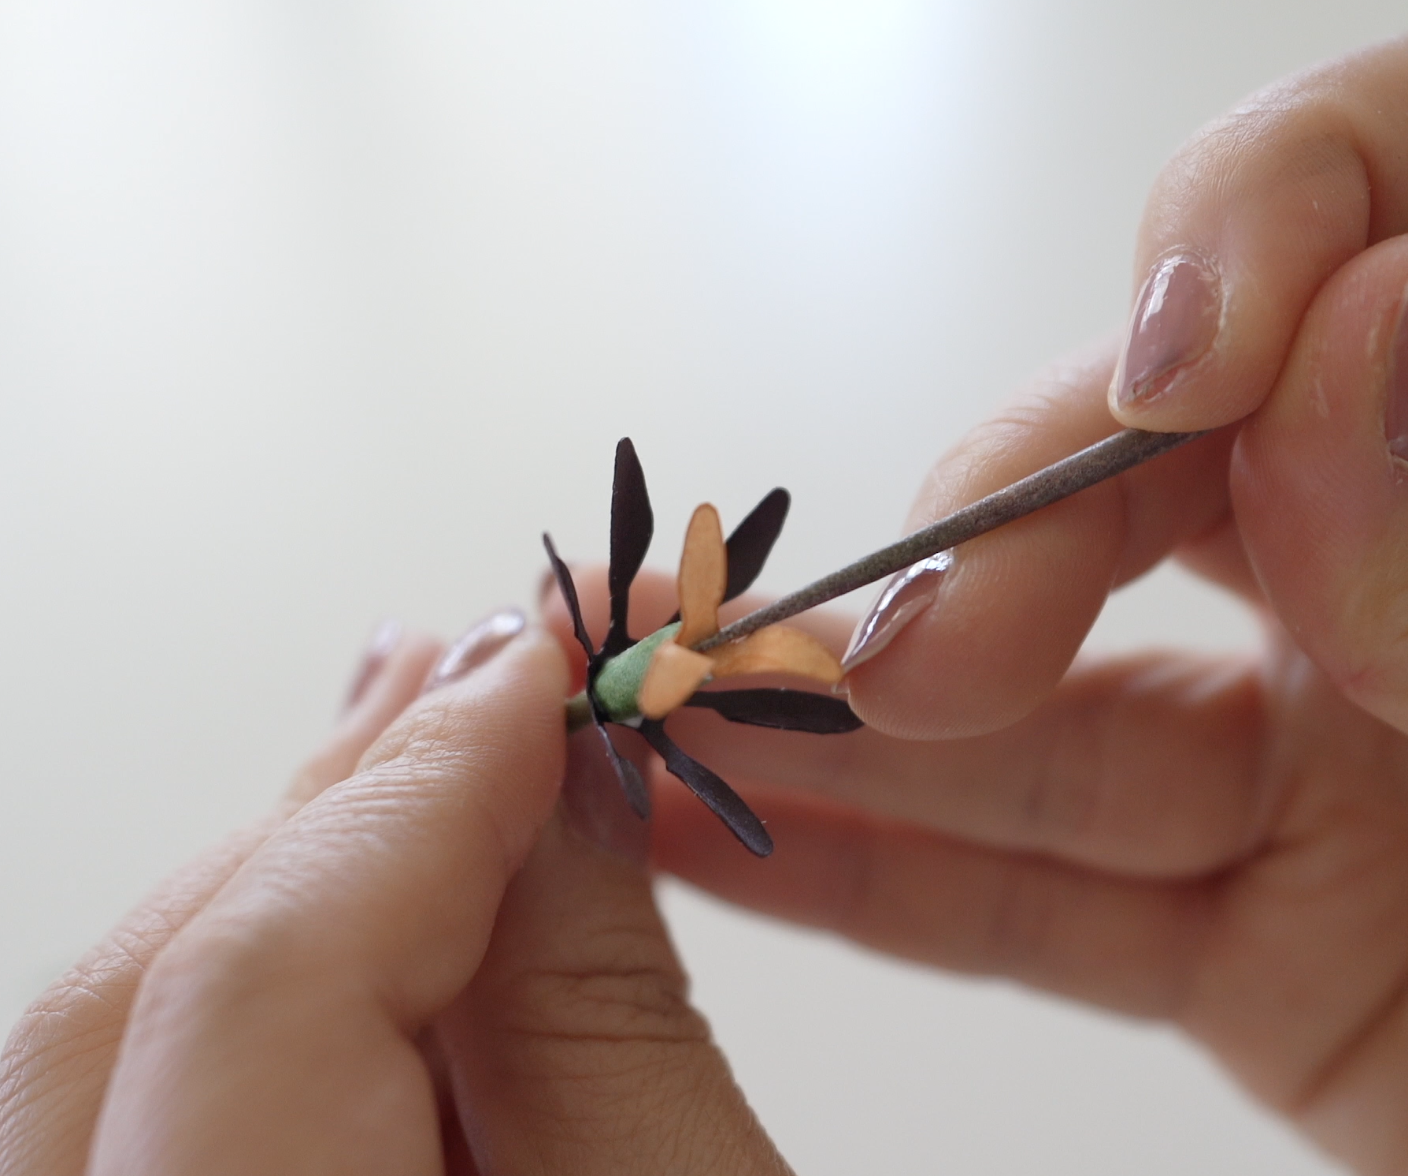
Step 3: Prepare the Flower Center
Wrap green tissue paper around a floral wire using white glue. Roll it to create a slightly thickened tip. Attach the dark brown/black center piece with glue and then add the yellow center piece on top, curling its edges outward.

Step 4: Shape the Petals
To create a realistic look, fold each petal in the middle and gently roll them diagonally. Using a ball tool, shape the edges for a natural curve.

Step 5: Add Wire to the Petals
Cut six thin floral wire pieces slightly shorter than the petal height. Glue them to the back of each petal using the wire cut files for extra support. This step helps shape the flower but is optional.

Step 6: Assemble the Flower
Poke a hole in the center of each petal and attach them to the floral wire stem using hot glue. Stagger the second layer to create a full, blooming effect. Shape the petals as needed.
Step 7: Add the Leaves
Cut two green cardstock leaves, fold them in the middle, and curl the edges. Attach them a few inches below the flower using floral tape.
Final Touches & Display Ideas
Find the full video tutorial above or linked here. Your paper parrot tulip is now complete! These flowers are perfect for springtime decor, Easter table settings, or even as a handmade gift. Try experimenting with different colors to create a unique bouquet. If you enjoyed this tutorial, check out my traditional tulip template for more floral fun!
Don’t forget to share your creations and tag me—I’d love to see them! Happy crafting!
-SaraKim