DIY Paper Fiddle Leaf Fig Tree Tutorial
If you’ve ever dreamed of having a fiddle leaf fig tree in your home but don’t want the hassle of keeping it alive, this tutorial is for you! I’ll show you how to create a beautiful, realistic paper fiddle leaf fig tree that requires zero maintenance and looks stunning in any space. Let’s get started!
Supplies Needed
Template- https://www.handmadebysarakim.com/digital-templates/fiddleleaf
Cricut, Silhouette, or other cutting machine (optional)
Floral wire (22 gauge and thicker paper-covered floral wire)
White glue or hot glue
Sponge brush
Masking tape
Wooden dowel
Styrofoam and rocks (for the base)
Pot or planter
Step 1: Prepare Your Template
The template includes four different versions of the leaf design. You can adjust the sizes to create variety. For this project, I’ve scaled some leaves to be 3-4 inches bigger or smaller than the suggested size for a natural look. Use your Cricut, Silhouette, or any cutting machine to cut out the shapes.
Step 2: Add Leaf Details
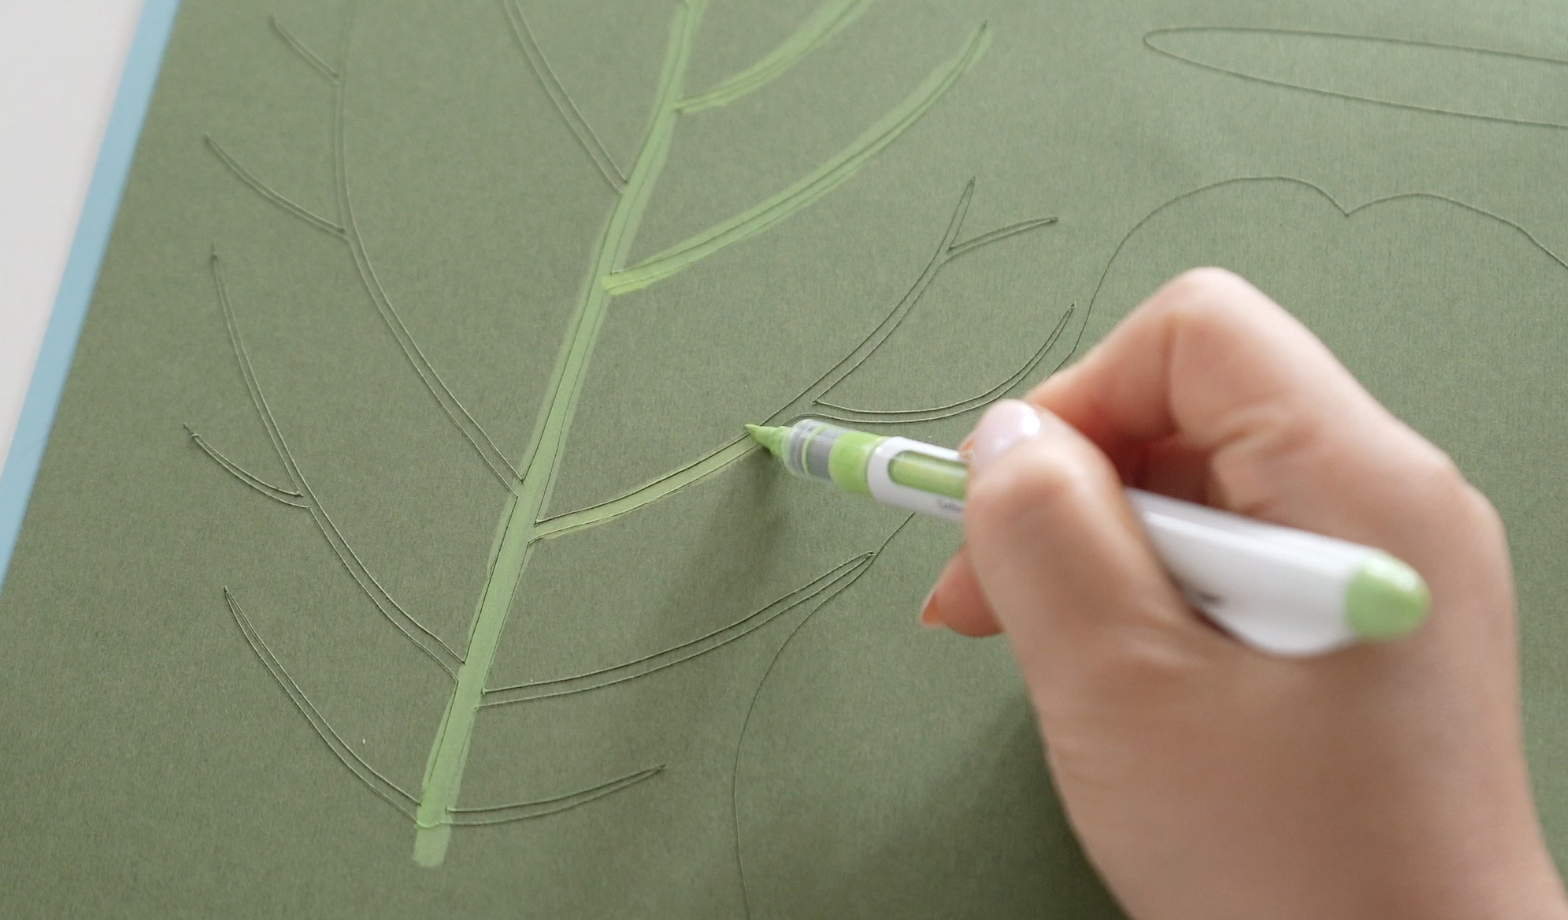
Each leaf consists of three components: the leaf shape, the inner pattern, and the backing. Start by using a lighter shade of green acrylic marker to add vein-like details to the inner pattern. This gives the leaves depth and realism.
Step 3: Assemble the Leaf
Take a piece of 22-gauge floral wire and glue it to the back of the leaf shape.
Attach the backing over the wire using white glue. Let it dry completely for a seamless finish.
Apply Mod Podge to the leaf surface with a sponge brush. First, coat the leaf shape, then place the inner pattern on top, and apply another layer of Mod Podge over it. Stroke diagonally from the center to create a clean, consistent texture.
Allow the Mod Podge to dry for about an hour. It will dry clear with a glossy finish.

Step 4: Shape the Leaves
Once the leaves are dry, gently curl the edges to create a ruffled effect. Use your fingers to curl some edges inward and others outward for a natural look. Be careful not to crease the paper. Adjust the floral wire to add a slight curve to the leaf.
Step 5: Assemble the Tree
Create a sturdy base stem by bundling 2-3 thicker floral wires together and securing them with masking tape. Add more wire stems to build up the height to your desired level (mine is waist-high).
Insert a wooden dowel at the base of the stem for added support and tape it securely.
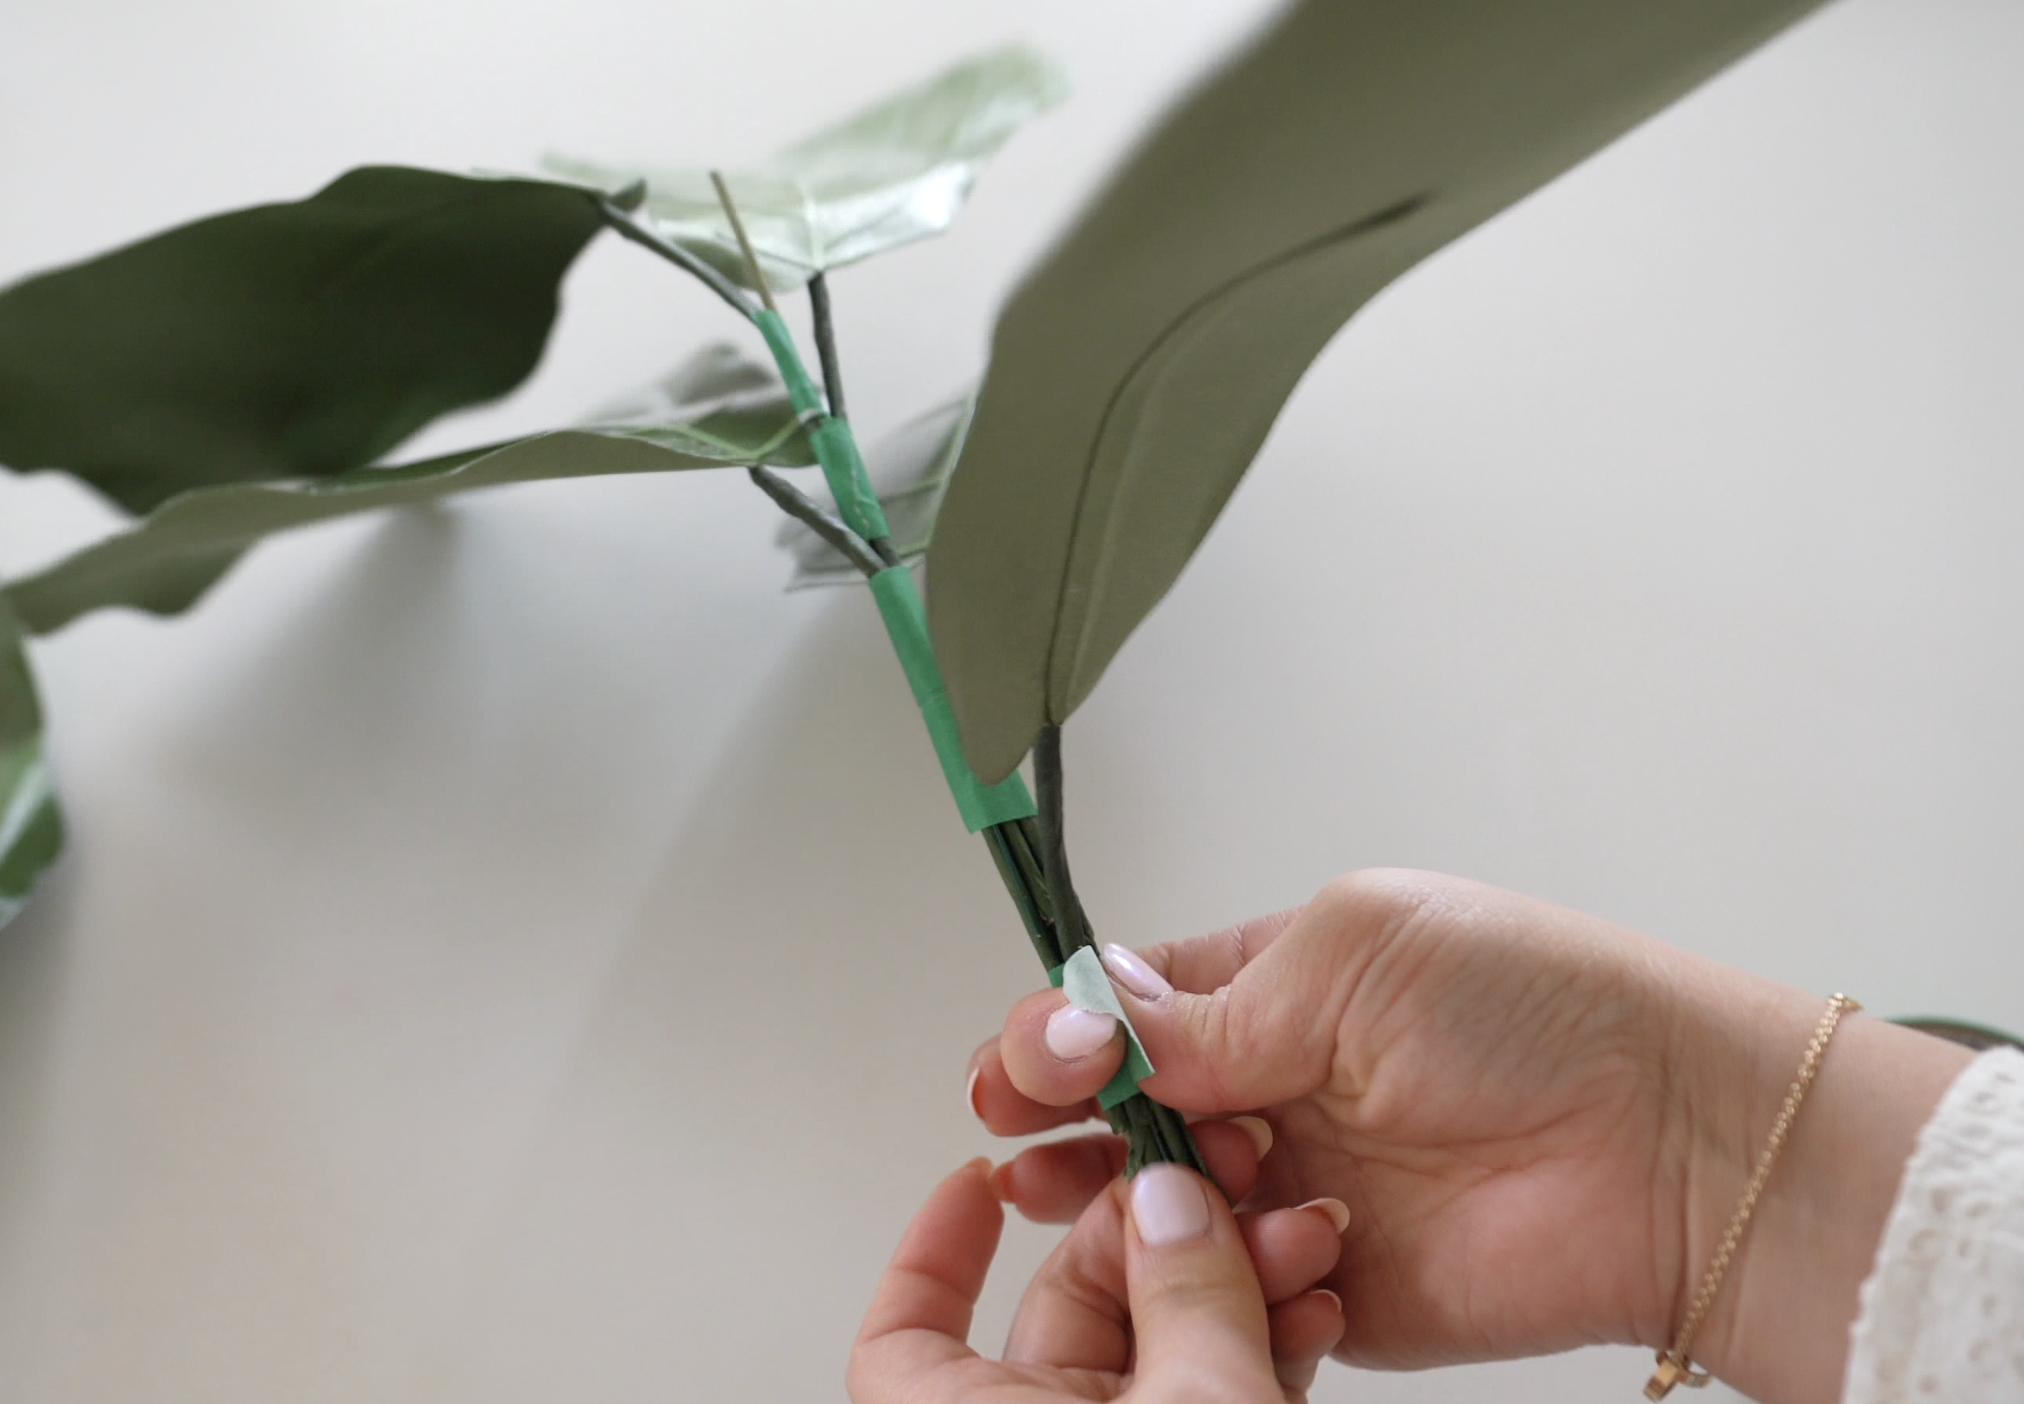
Attach the branches to the stem, starting with the smallest leaves at the top and working your way down. Use masking tape to secure each branch to the stem.
Step 6: Add the Finishing Touches
Wrap the entire stem with brown crepe paper to create a cohesive look. Stretch and mold the crepe paper around the stem, securing it with white glue as you go. Ensure the tape and wire are completely covered.
Place your tree in a pot or planter, securing it with Styrofoam for stability. Add rocks or moss on top to conceal the base.
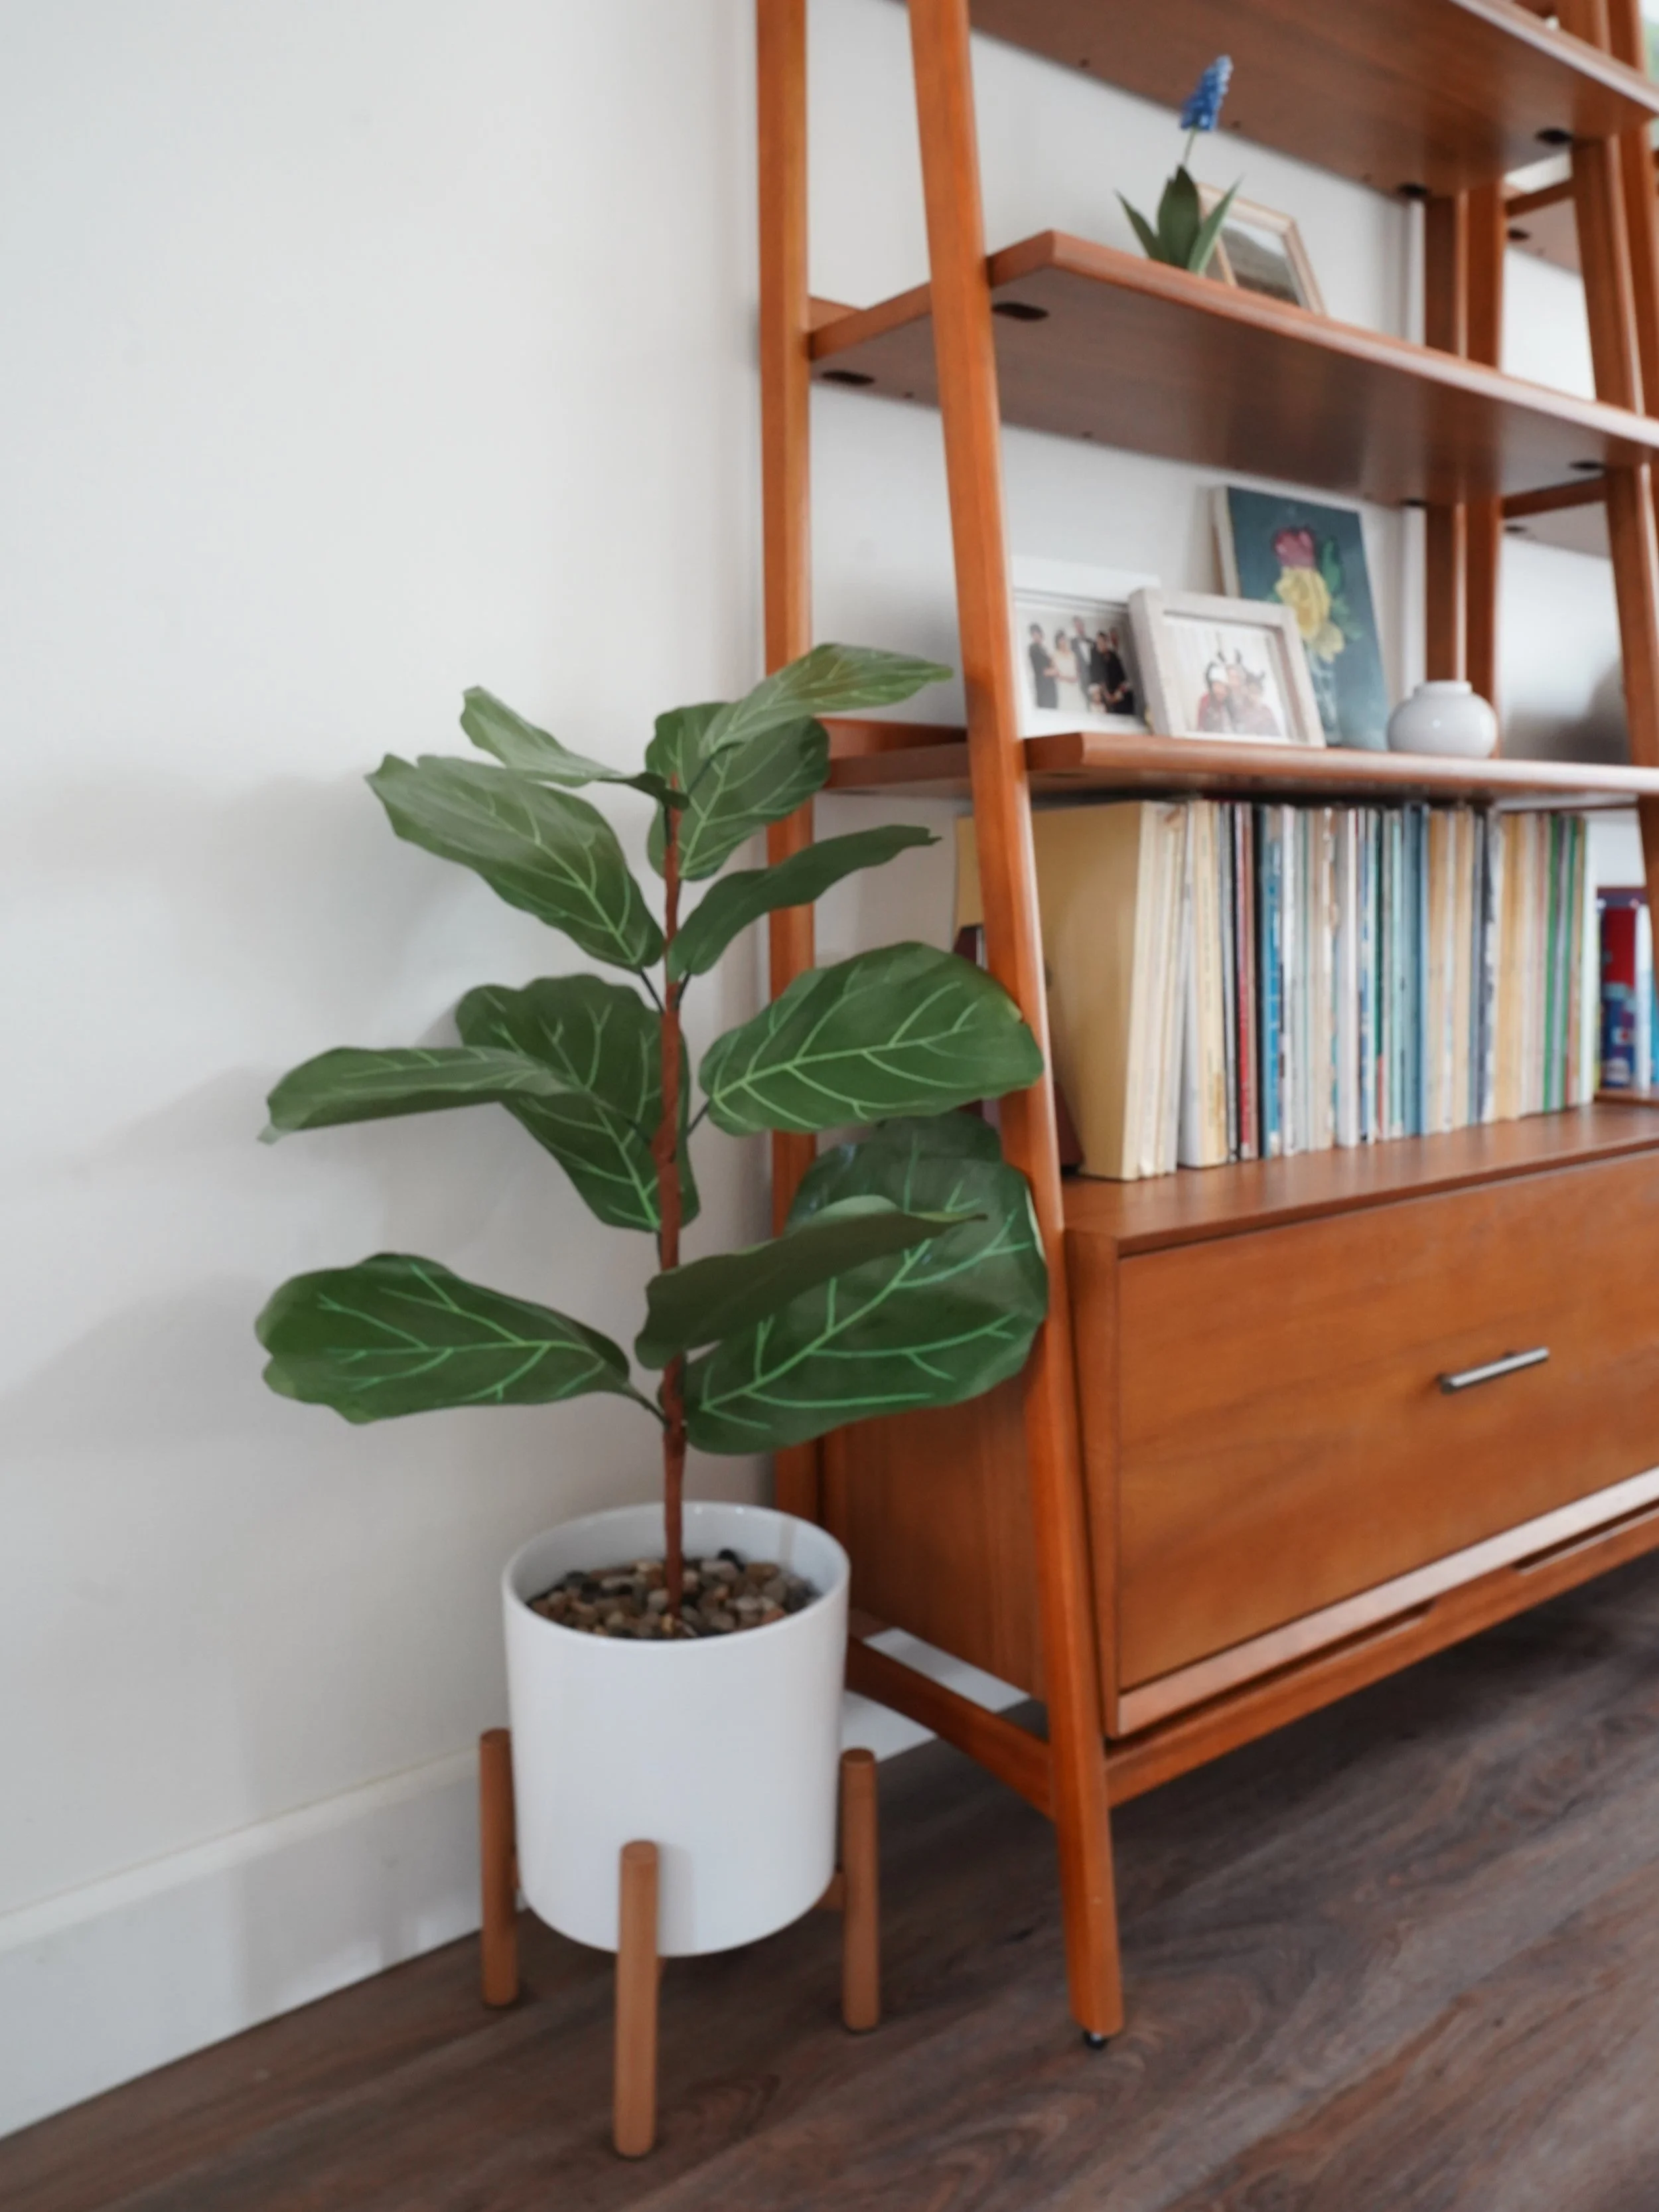
Your paper fiddle leaf fig tree is complete! Place it in your favorite corner, on a shelf, or use it as a statement piece in your home decor. This tree pairs beautifully with my other paper plants, so check out my other tutorials linked here.
Watch the Full Tutorial
For a step-by-step video guide, check out my YouTube channel above!
Don’t forget to like, subscribe, and share your creations with me on Instagram! Let’s craft something amazing together. 🌿
-Sara Kim